
Set Up a Data Connection
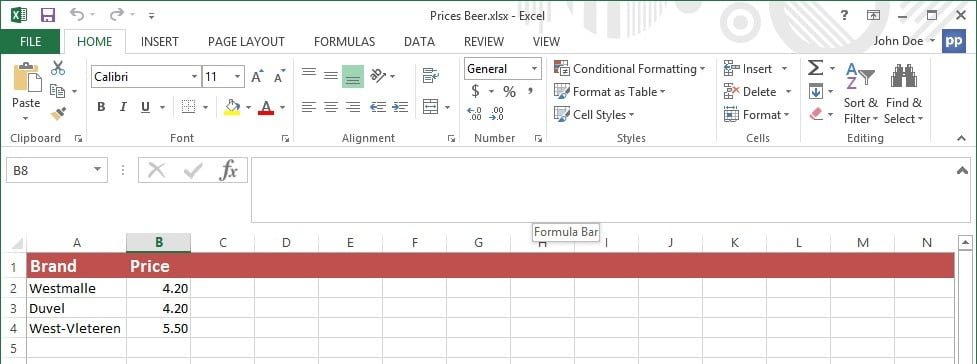
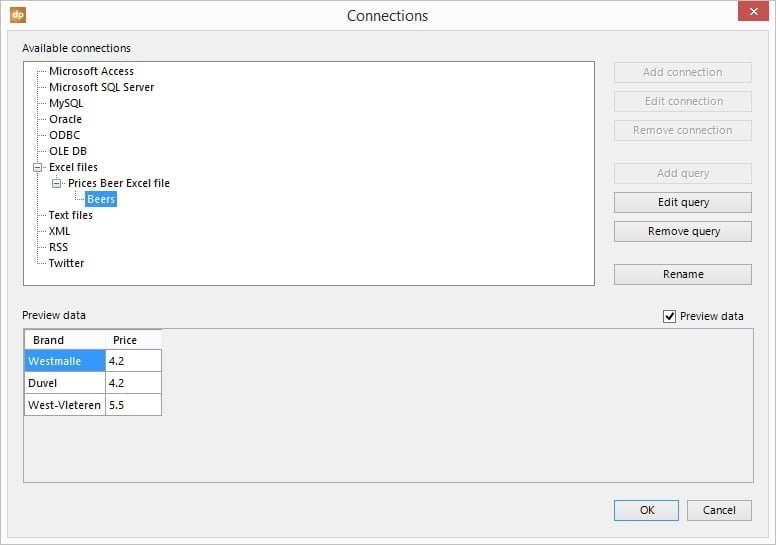
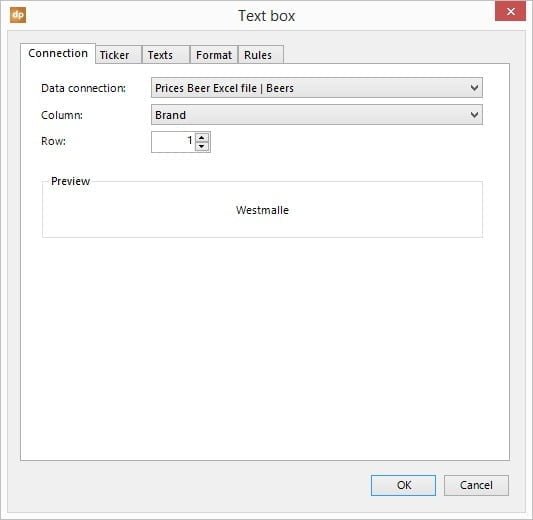
First, you need to connect your presentation to your data. This data is often stored in a database or file. Supported databases are Microsoft Access, Microsoft SQL Server, MySQL and Oracle. Virtually any other database type on the market can be addressed via OLE DB or ODBC drivers. Files can be text files, comma separated text files, XML files or even Microsoft Excel datasheets are great for storing and manipulating data. To work with databases, you need to understand the structure of the database and you need to know SQL. So that, when you work with Excel, it will be much easier, so for this article I will use a simple Excel file. Nothing complicated. Let’s work with some data that everyone understands; beer! Yes, we are a Belgian company and like to promote some national products. We will display information about beer and pricing on our information screen. This is the Excel file I’m using. A simple file with one datasheet, where we list the names of the beers and the prices.
Start with a Presentation
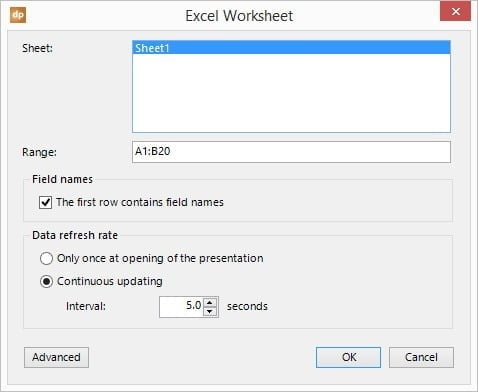
Next step is to set up a presentation and link some text boxes to your linked Excel data. Start with a new presentation and add a slide. On that first slide, we added a new normal text box. Note that you need to use text boxes to display static information all the time. Insert a text box and type in your text or message. With this dynamic linking, we are not going to type in text anymore. No, we are going to link this text box dynamically to a data source. After the linking, we maintain the information directly in the database or data file, but not anymore in the presentation. That is presenting only!
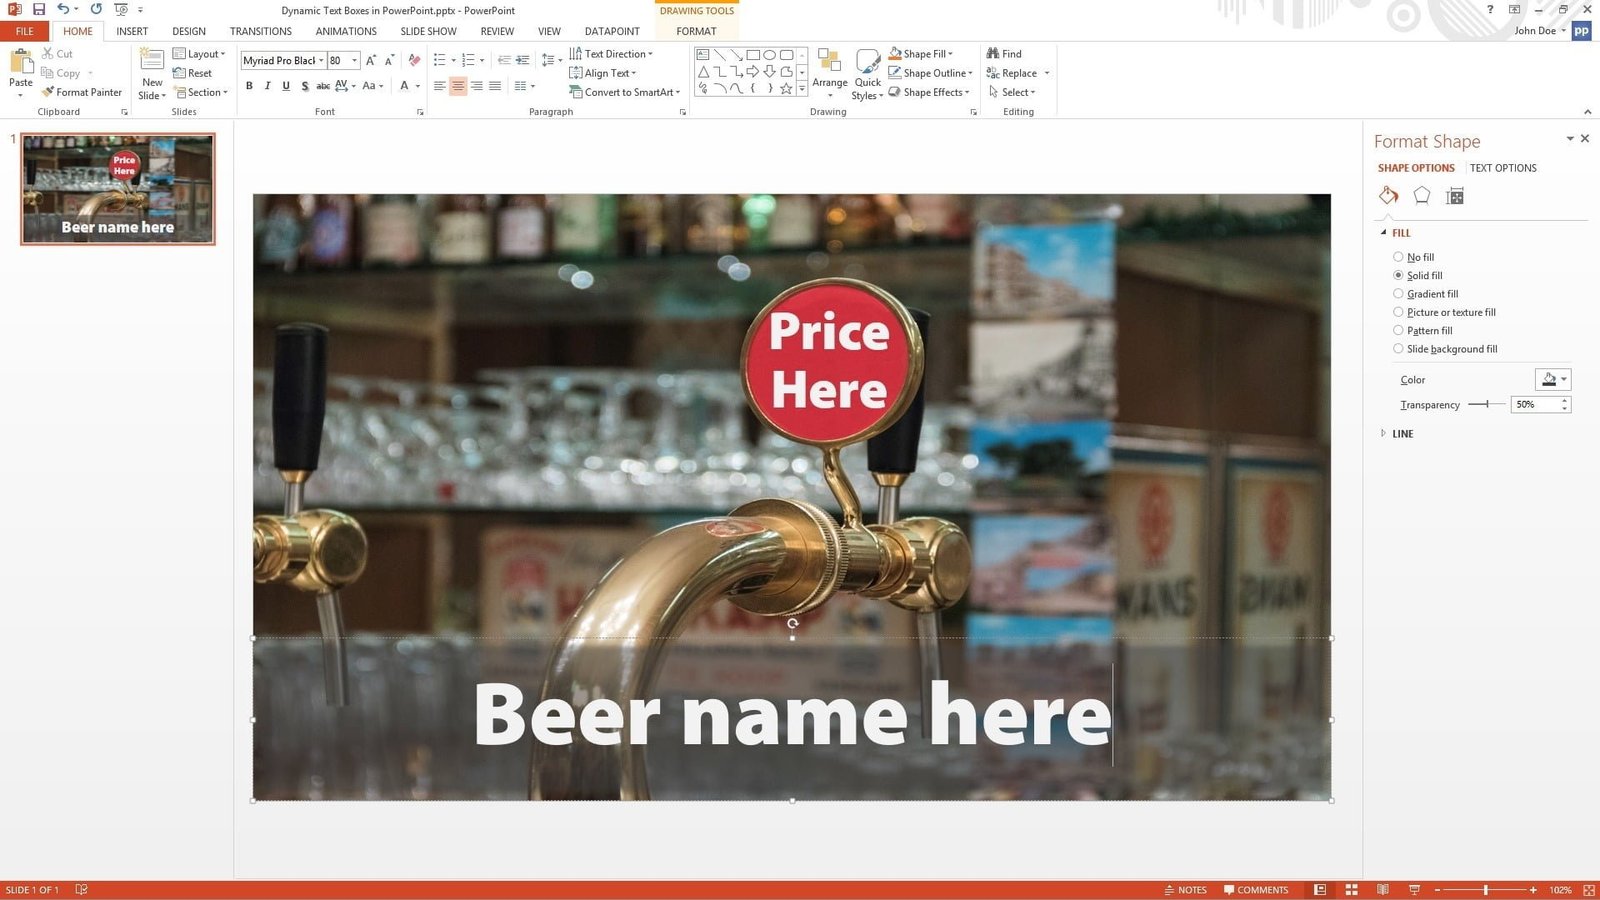


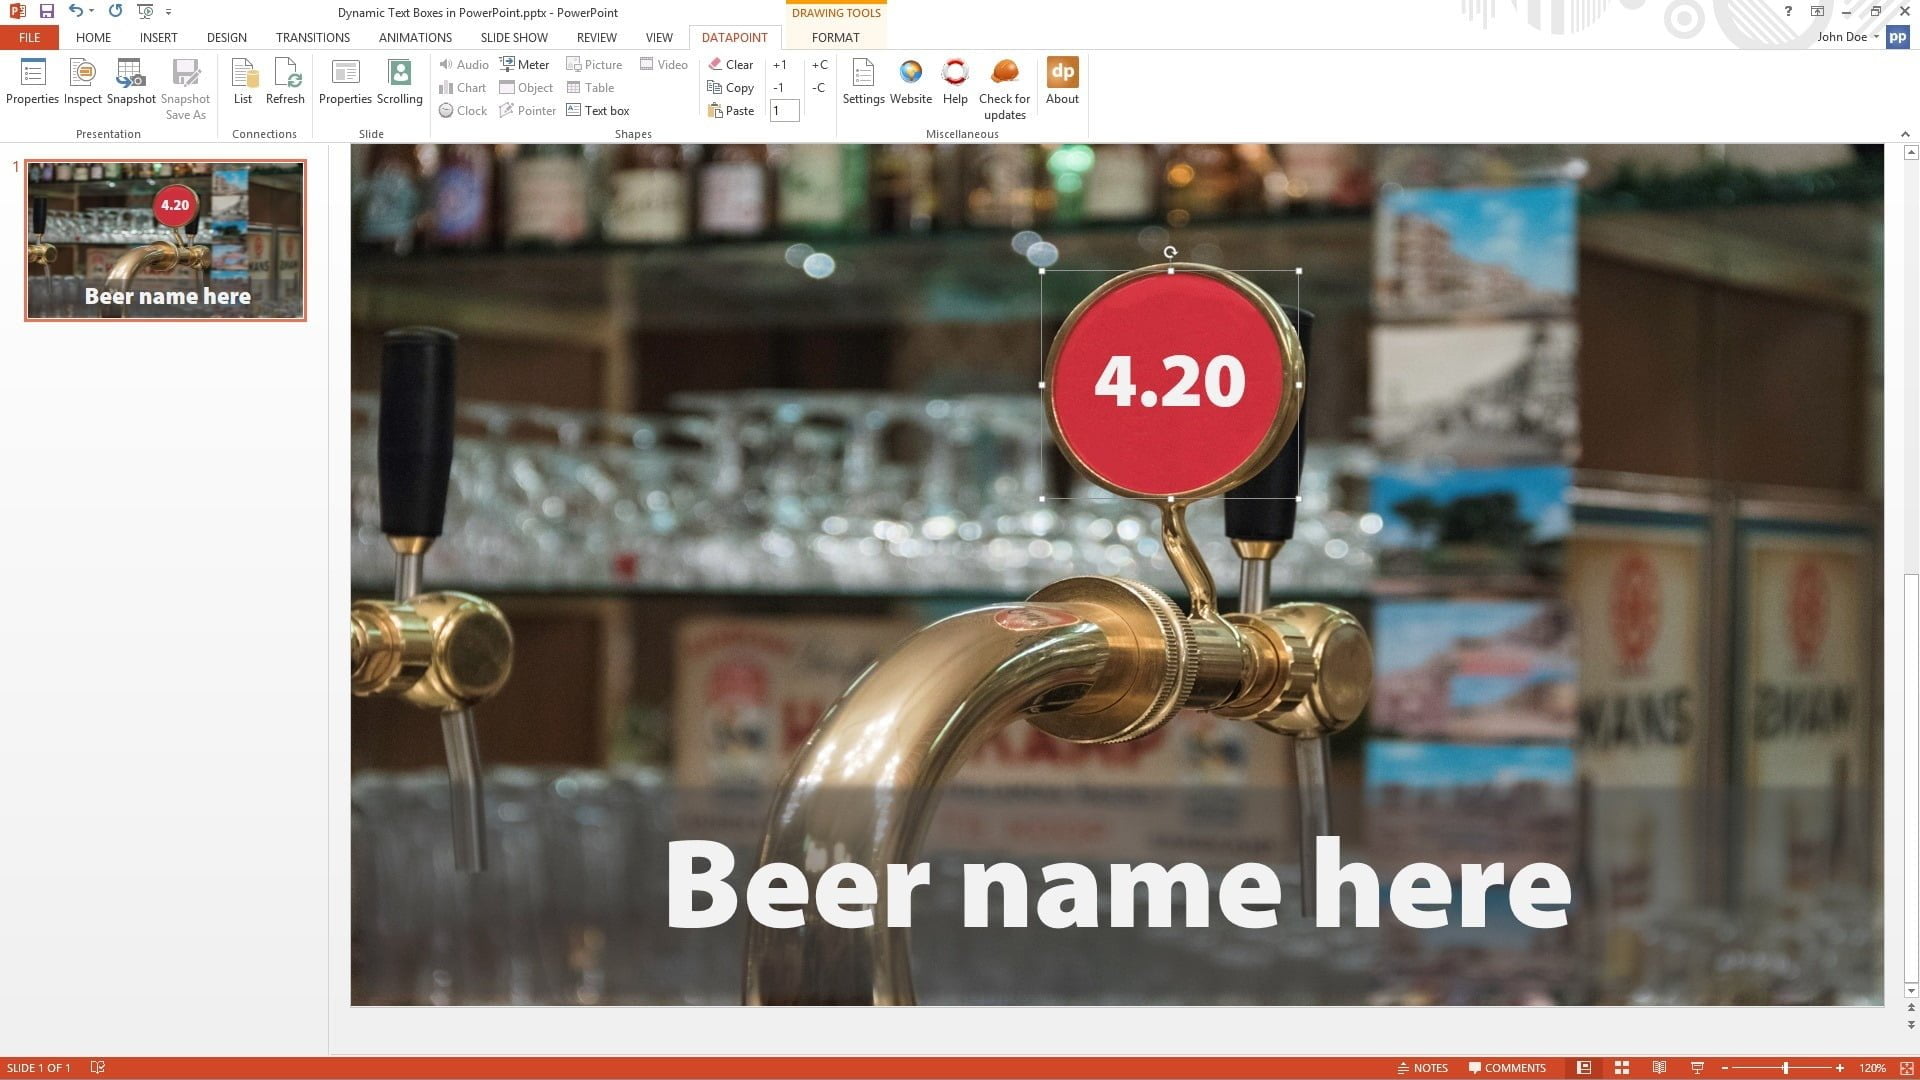
- As demonstrated here, the prefix text always comes in front of the dynamic value.
- A suffix text always comes behind the variable value, e.g. to indicate C or F for a temperature.
- The option for an empty text is placed whenever to row exists at the data source, but the value is empty or nothing.
- And finally the non-existing row replacement text, will be copied into the text box whenever the chosen row number exceeds the number of rows in your data. So when you would have value 8 set as row number on the text box, and your data set is returning only 5 rows, then this text will be shown instead.
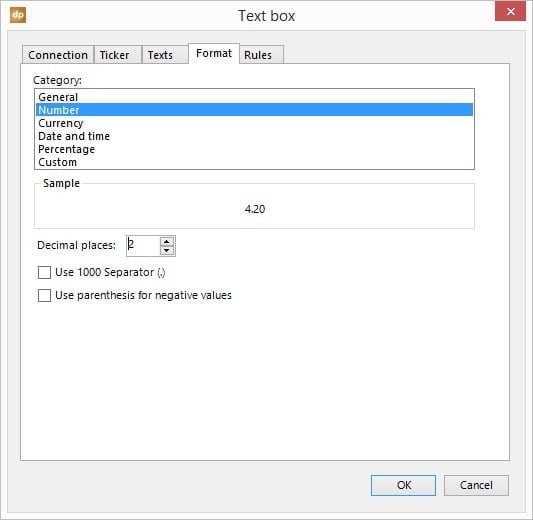
The last option on this Texts tab, Alternate text boxes every n seconds, is to let text alternate when you have texts with multiple lines. This is explained in detail at another great article. The 2 other tabs called Ticker and Rules, will not be handled here, because there is so much more to say. Here is more information on text tickers and another one on setting up dynamic rules.
Run Your Slideshow
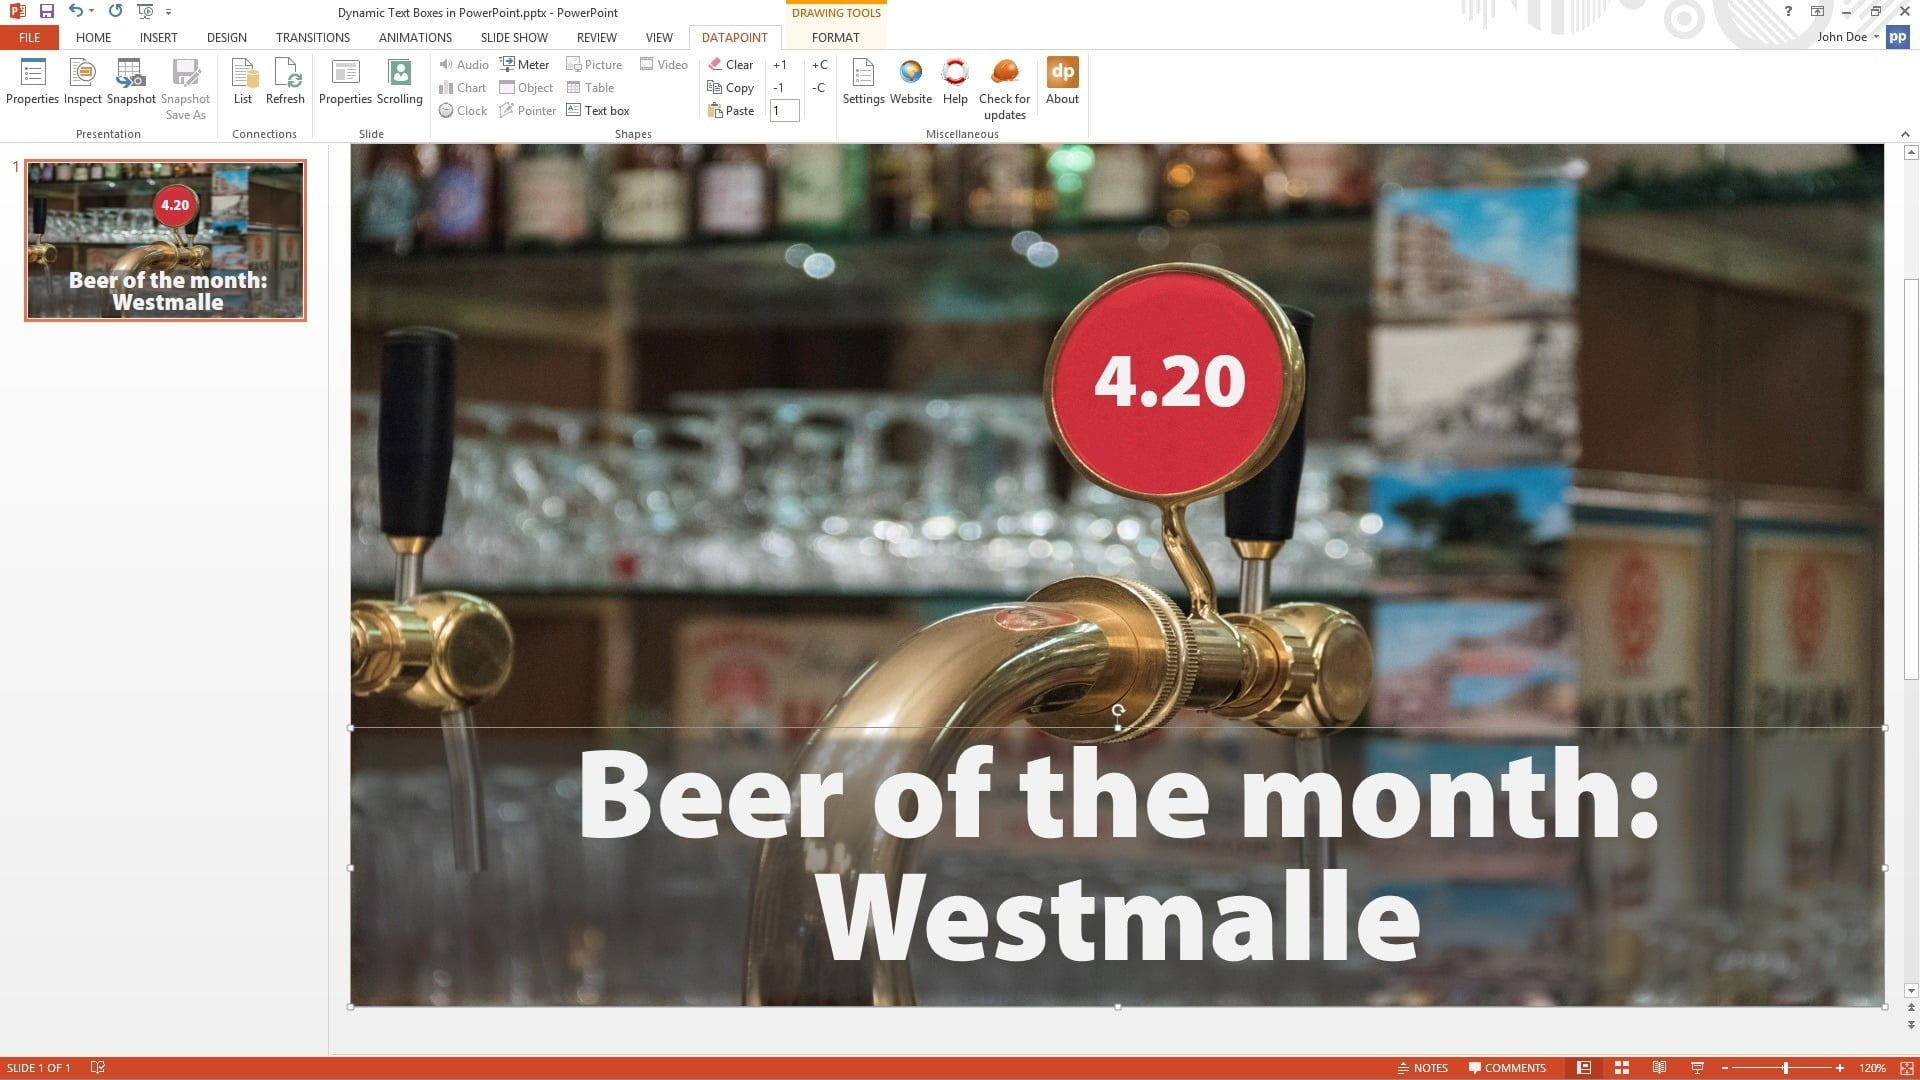
Next time that you open this dynamic presentation, all of the linked and dynamic text boxes will be refreshed with the latest and current information. So when you change the name of the beer of the month, or you change your pricing, then this information is updated automatically on your slides. Furthermore, you can start the slide show and while it is running, it will check for updated information at your Excel file and update the information on the slides, during the slideshow, without interrupting the slideshow at all.
Generate Snapshot Presentations
You can also generate snapshot presentations out of this. A snapshot presentation is a newly generated presentation, filled with the latest information, but then disconnected from your data sources. So you start with your linked and dynamic presentation, and you generate daily or weekly snapshot presentations for statistical purposes, or for distribution to other that do not have access to your data source directly.


I am making a PPT presentation by DP, Excel and PPT animation function.
Once DP detects updating in the data source (i.e. Excel),
PPT presentation has reloaded on that page.
That means all of animation has reset and restart from the initial.
I would like to change only “changed” data.
I don’t want to reload all page data.
How can I control ??
We are aware of that and have no fix for this at this moment. When updating the data, the animation is replayed. We are looking for a solution to that.
Thanks for the comment.
Suggestion: I am a new user to this concept and process. I finally found this page, which I will use to understand a basic connection process with Excel. Suggestion, please include a link to files used in doing this process would be so helpful. (Excel and PowerPoint files in this case). Your software is so awesome and just need to find quick ways on how to use it. Including the demo file would help to speed up the learning curve.
P.S. The question here was asking about how to update manually the connection when data is changed in Excel to get it to show up in in PowerPoint. What is the best way to do it manually as to the update without having issues come up?
Thank you for providing a great product that will allow power users to keep growing as to meeting their needs.
Thanks Miles for the tip. We sometimes do include the PowerPoint and data files, but not always.
We will plan to add this here too.
Is it possible to set up the data connection to something actually IN the presentation? For example, an imbedded table?
Dear Kevin,
So you want to have an in-presentation-datatable where the data is not coming from an external data store, but is stored in an in-memory datastore in the pptx itself. Correct?
When or why do you want to have this feature? Can you give an example? Currently that option is not available but I want to hear your story about this.
Hi,
I plan on making a presentation where i can input text/number in a box. The text/number then store in Excel as data base. Is it possible?
Hi Hady, we have done such projects in the past. It is not done by a standard product that we have, but a customized presentation with macro scripting where you can capture the inputted information of the text boxes and then write it back to a file or database. Contact us if you want to explore this further as a custom project for you.
I would like to insert
an audio clip associated to a datafield +text to speech functionality based on a corresponding value from a datafield in a concatenation. It would be used for explaining a product or comparing two or more products. Text to speech could be in any language selected by the user. Sometimes an explanation may be available and it would be great if some sort of sendkeys functionality is added to skip to the next previously defined point to avoid repeated info.
Sounds interesting. We have our text to speech option in DataPoint but that depends on the languages that you have installed in your operating system. Not sure if you can add multiple voices/languages there.
I think we can do something with a linked object. Would it be possible to create a trouble ticket at our support section and send in some sample files like data and presentation so that we can play with it?
Is it possible to create text boxes that have examples already prepopulated in them that go away as soon as someone starts typing? Kinda like the “submit a comment” section of this web page. We are trying to use this for template creation. Thanks!
Yes, that is possible when you would use controls like text box, checkbox etc from the control toolbox (not the normal powerpoint textbox shape!) and use macros.