
There is a tool or pane in PowerPoint that everybody should know about and use, but in practice it turns out that not many are aware of this pane, or do not use it at all: the PowerPoint Selection Pane. And we all have been in a situation where you could use this selection pane. You probably have been cursing a lot when you couldn’t select that single shape you needed to edit. It was always selecting that other shapes.
Now, I gave away for what the selection pane is used. But you can do much more with the selection pane!
How to Open the PowerPoint Selection Pane?
There are a few different ways to open the selection pane. First of all, from the Home tab in PowerPoint with no shape selected, click Select, Selection Pane… from the Editing group.

That opens a new pane at the right of your presentation, like in the image below.
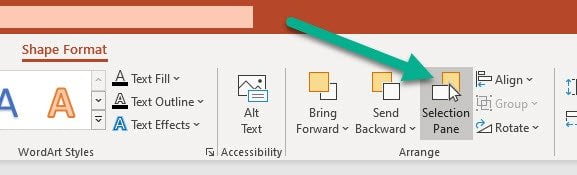
A second way to open the Selection Pane is to first select a shape, and then click the Format Shape tab and click the Selection Pane button.
The third way to open the Selection Pane is to use your keyboard and click ALT + F10. Click ALT + F10 again to close the Selection Pane.
Hide Shapes
Sometimes a slide is so complex and has many shapes on it. You might have to select a shape to change its properties but you are having a hard time to select the shape that you need. Always that other one shape is selected but not the one you needed to be. Stop! For this the selection pane is your best friend.
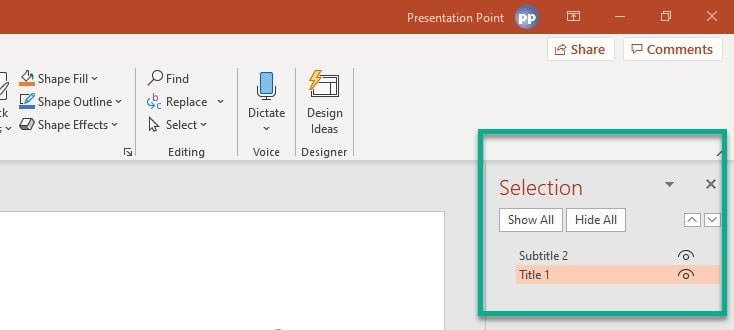
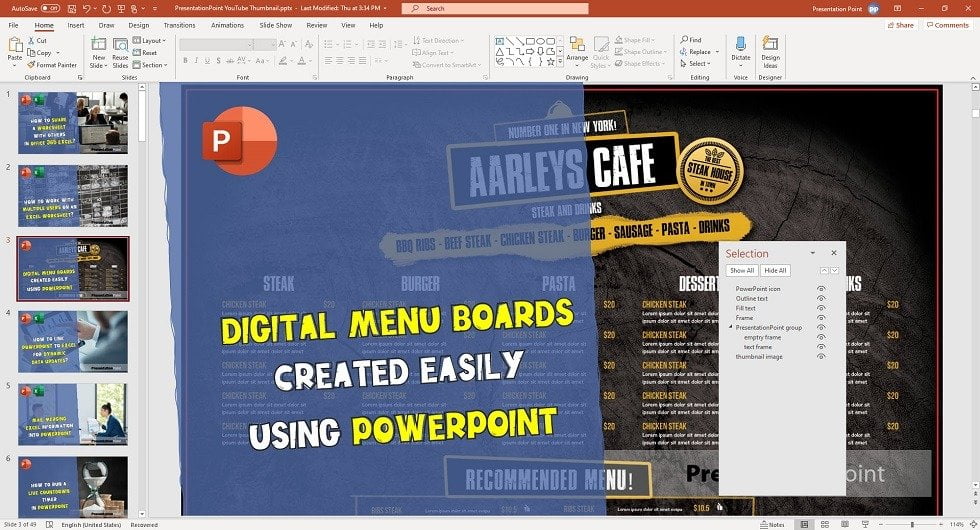
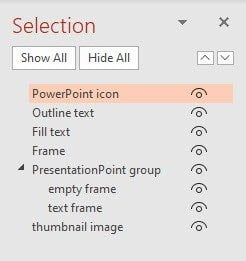 With the PowerPoint Selection Pane open, you see all shapes of the current slide by name. There is an eye icon right to each name. You can click on the eye icon to hide that shape from the slide. A line through the eye icon will indicate that this shape is hidden on the slide. Click the icon again to show that shape again.
At the top of the selection pane there are 4 buttons. First one Show All is to show all hidden shapes at once. Hide All will hide all shapes of this slide. We will come back to the 2 other icons in the next paragraph.
Change the Order of Shapes
 Use the up and down buttons on a selected shape to change the order. Click the up button to bring a shape forwards, or click the down button to send it backwards.
 Select a shape or click on the name of the shape. Then drag it up or down in the list to change the order (backwards or forward).
Renaming Shapes
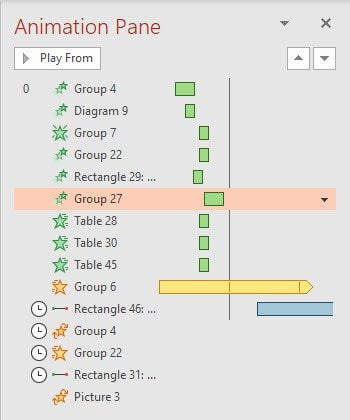 As well as on the Selection Pane, and when you click Animations in PowerPoint, and then open the Animation Pane, you will see a list of names of shapes that are used on your current slide.
But they don’t say or mean much. You will see Group 27 and Rectangle 46, but you have no clue of which shapes they are.
The Selection Pane has to only option in PowerPoint to rename your shapes. When you give a decent name like Title, Pricing, Group with countries, Featured Image etc, then it is much more pleasant and productive to work with animations and use shapes here on the selection pane. You can directly select the shape that you wanted to edit, without mistake.
To edit the name of a shape, click the name of the shape at the Selection Pane. Click on it again to go into edit mode. Now you can change to name that was automatically given to the shape and hit Enter to save, or click another shape to commit the changes.
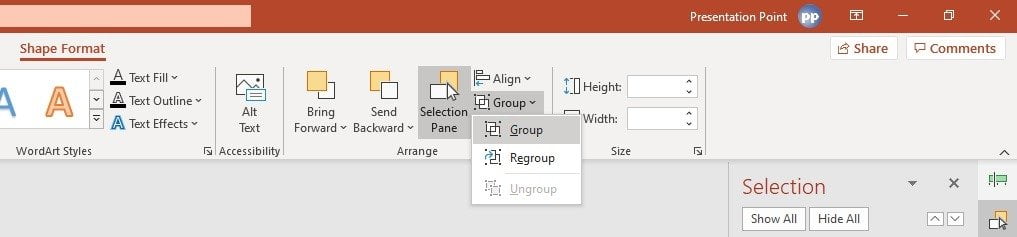
Grouping Shapes
At the Selection Pane, you can CTRL + click any shape to set up a group with multiple shapes. Once you are done with multi-selecting the shapes that you want, then go to the Shape Format tab and choose Group, Group at the Arrange section.
Floating Selection Pane
Not many people do this, but you can make a floating pane out of any pane in PowerPoint. Hover at the top of the pane till you see your mouse change into a pointer that points to the 4 directions. Then left click there, and drag the pane to any position that you want. If you have a dual monitor system, you can perfectly drag the pane to your second monitor.


Does it matter what we name the textboxes?? If I name it “Risk Management” will the screen reader recognize it as text to read? Or is it like tagging a PDF where things need to be named Text, Title, Header,…
It does not matter at all when viewing the slideshow. It is only handy when you name your shapes and when you use the selection pane. There are 3 advantages when using the selection pane: 1) you can easily select the shape that you want to edit (sometimes it is hard to select just that one shape), 2) you can click on the eye icon to hide/show the shape, and 3) you can change the z-order of the shapes very quickly.
I’ve just started using the selection pane and it is GREAT. But… is there any way of printing off the shape list in the selection pane? I need the “word” information as well as the shapes to write into a word doc, but maybe I will have to do that by hand?
Nice to read. This can only be done by using some little coding. The normal desktop application will not do this for you.