
The year is almost ending and maybe you want to display a countdown till January 1st. Or you need a countdown for the opening of your new shop? This article will show you how you can run a data driven countdown in PowerPoint. For a countdown you have to set a target date (e.g. January 1st, 2015). Then you need to calculate the number of days, hours, minutes from now till the target date. And finally you display this information in real-time in a running PowerPoint slide show on a monitor or television screen so that everyone can see.
Start with a Database
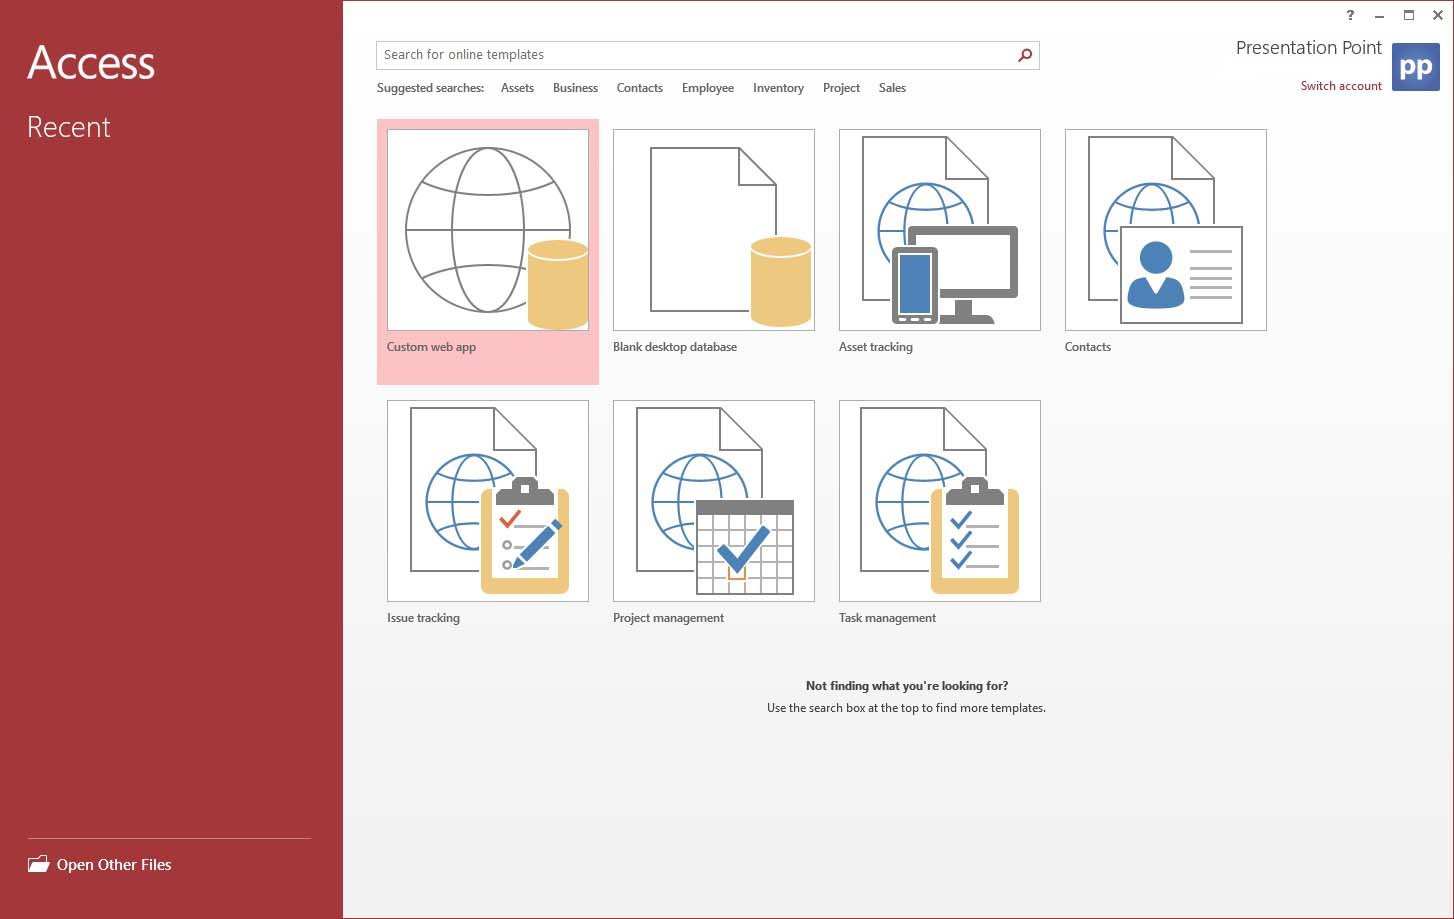
Start with a new Microsoft Access database. Start Microsoft Access and on the welcome screen click to create a Blank desktop database.
Name it ‘Countdown.accdb’ and click the Create button.
Store the Target Date
First, create a table to store the target date; the date or time that the counter reaches its goal. In the Microsoft Access menu click to open the Create tab and click the Table button. At the column ‘Click to Add’ click the arrow down and select Date & Time from the list.

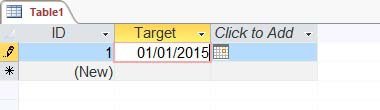
This will add a new column to the table. Change the proposed name Field1 into Target. Position in the next row of the Target field and click the calendar pictogram. Select the date that the user wants to use in the countdown, e.g. January 1st, 2015. For targets not ending at midnight, there you can add the time part to this field since the column is declared as a datetime field in the database. Whenever you enter a date without a time part, then it assumes that the time is midnight.
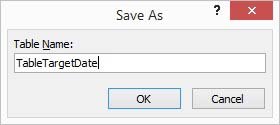
Click now the Save icon and name the table TableTargetDate like in this screenshot.
Calculations
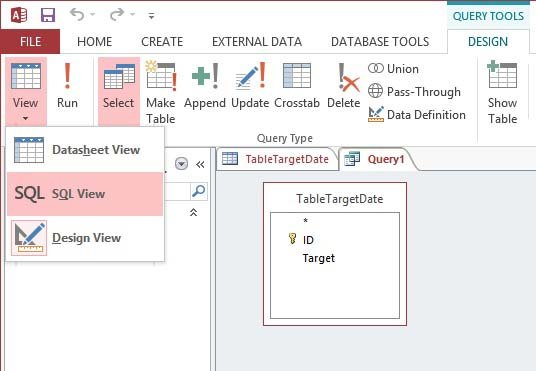
Click to open the Create tab again and choose Query Design from the list of buttons. Click the Add button to add our target table to this query and hit Close. Make sure that the Design tab is open. Click the first button named View and choose SQL View from the list.
Now, we have to perform some calculations. Calculate the number of days from now till the target date etc. We are going to perform some magic here. We have to use a few functions and it will become clear when the user see it. Paste the following string into the sql designer;
SELECT
Format(DateDiff("d",Now(),[Target])-1,"00") AS days,
Format(IIF(DateDiff("n",Now(),[Target]) Mod 60 = 0, DateDiff("h",Now(),[Target]) Mod 24 + 1, DateDiff("h",Now(),[Target]) Mod 24 ),"00") AS hours,
Format(IIF(DateDiff("s",Now(),[Target]) Mod 60 = 0, DateDiff("n",Now(),[Target]) Mod 60 + 1, DateDiff("n",Now(),[Target]) Mod 60 ),"00") AS minutes,
Format(DateDiff("s",Now(),[Target]) Mod 60,"00") AS seconds
FROM TableTargetDate;
Click the Design tab and choose the Run button. It will show the output similar to this;
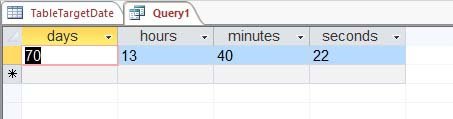
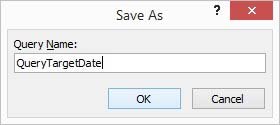
We see the number of days, hours, minutes and seconds till our target date. The values are calculated only once here when we clicked the Run command. Save this query to the database. Use the Save button and name it QueryTargetDate.
We are done with our work in Microsoft Access now. Close this database and exit Microsoft Access.
Data Driven Presentation
We are now going to design our dynamic presentation with the PowerPoint add-on DataPoint. Download the add-on and try it out for 15 days. Make sure it is visible in the PowerPoint menu. Start Microsoft PowerPoint and click DataPoint.

Click List in the Connections group.

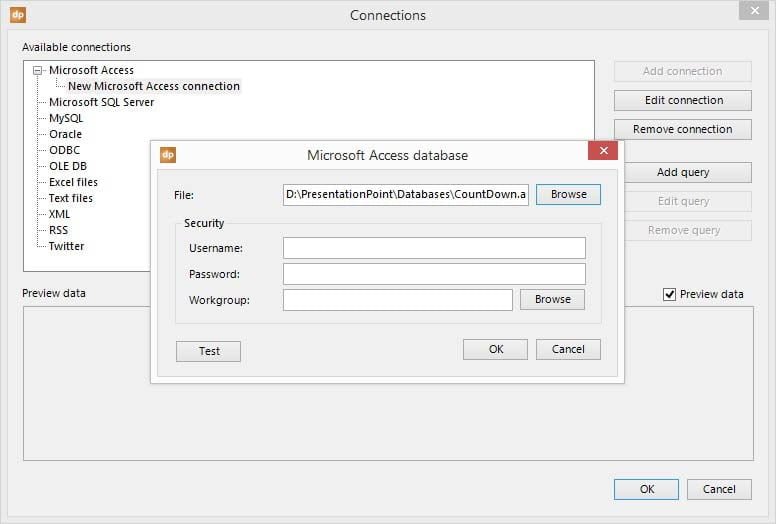
With the Microsoft Access node selected, click now Add connection. Click the Browse button and navigate to the Countdown.accdb database. Click Open to select it.
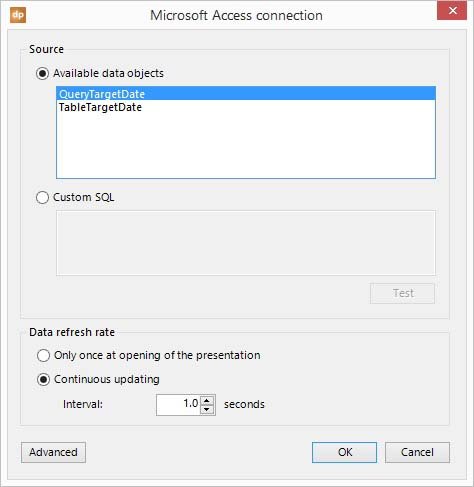
Click OK to add the connection to the list. Click now the Add query button at the right. Make sure that the query QueryTargetDate is selected. Also set the refresh rate to 1 second because that is important because we are counting precisely to our target time.
Click OK to add the query to the connection list. The user will see a preview of the countdown data already.
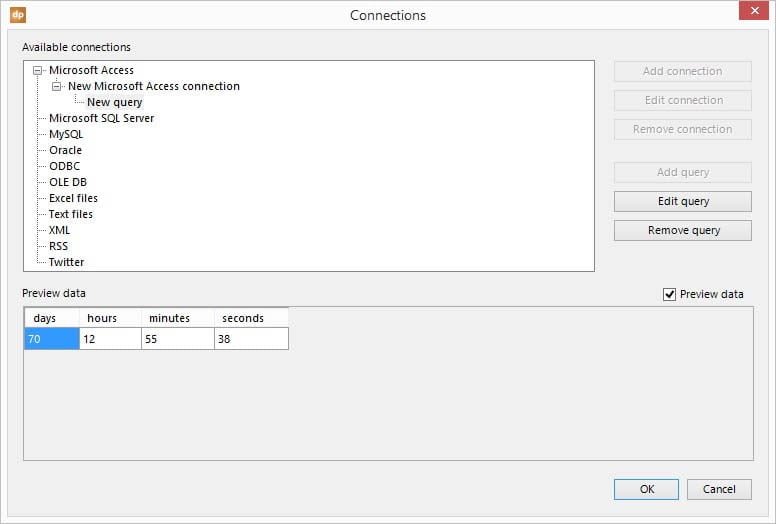
Click OK to close the connections. Add a text box to the slide and click DataPoint, then Text box button. Select the Days column at the available columns and click OK.
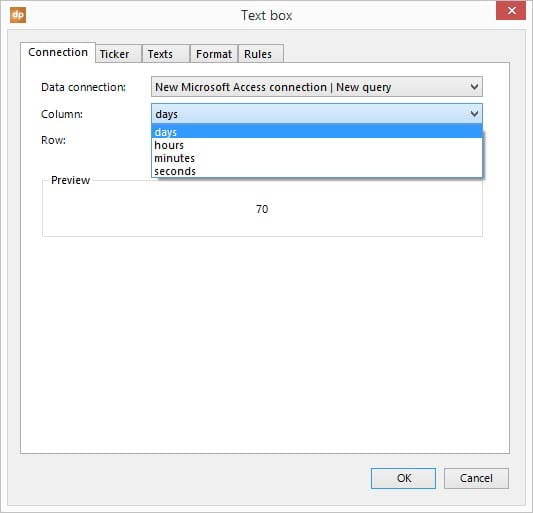
Now the content of the calculated field called Days is linked to the content of this PowerPoint text box dynamically.

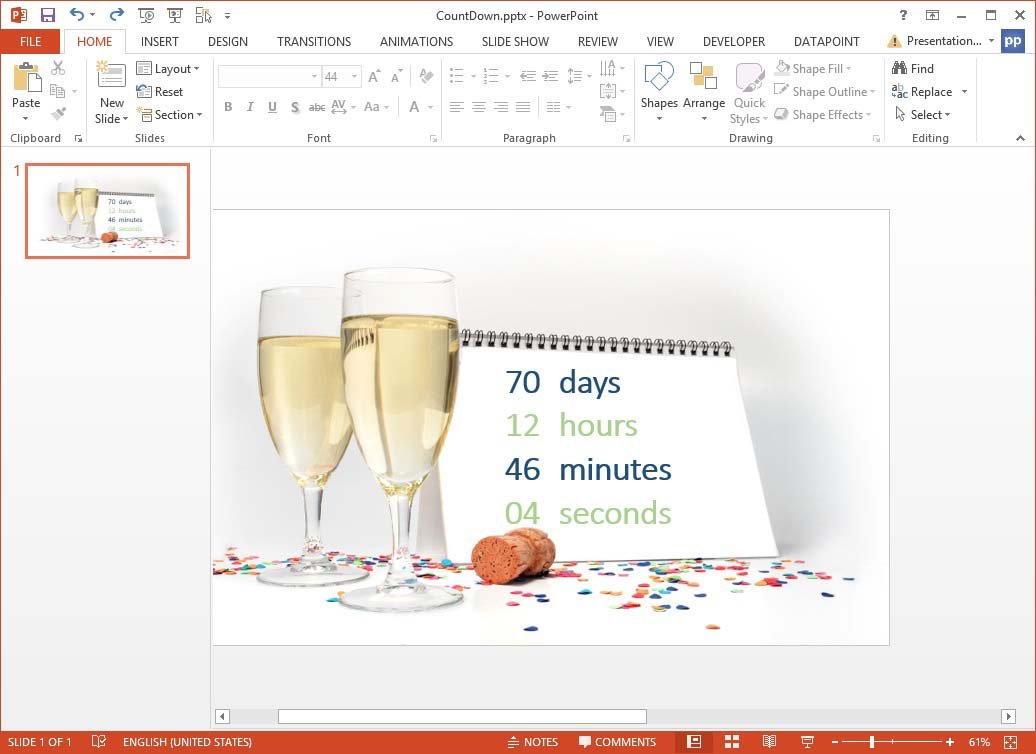
Repeat these steps and add 3 other text boxes to the slide for hours, minutes and seconds respectively. The user slide will look like this now;
Run Dynamic Slide Show
Run the slide show and DataPoint will dynamically update the counters till the targeted end date is reached. Happy New Year to You!

Download
Download DataPoint from the PresentationPoint web site and download this database and the DataPoint enabled presentation of this article with the live updating countdown.


At the Calculations stage, after I run the SQL link it asks me to fill parameter values.
Could you please guide so as to get the same output?
Thanks, this article is extremely useful and easy to follow.
Thanks for the message. Best is to create a trouble ticket at https://presentationpoint.com/support/ with some more information and a screenshot of the problem. That is how we can help you the best.
When you just need a countdown solution, then you could also have a look at our Dynamic TIME product, which is much easier to operate, and works without databases.
At the Calculations stage, after I run the SQL link it asks me to fill parameter values.
Could you please guide so as to get the same output?
Thanks, this article is extremely useful and easy to follow.
Can you share a screenshot or more detailed description of your situation?
Or create a support ticket at https://www.presentationpoint.com/support/ and send in your database.
It is hard to tell here what your exact problem is.
Or maybe download the database here at the end of the article. You don’t need to rebuild the database from scratch.
Could you explain a little more by what you mean “For targets not ending at midnight, there are add at the end time next to the date in the same field.”? I want to make mine end at a specific time of the day but I’m not quite sure how to enter that into the TableTargetDate.
Otehr than that, this was awesome. Thank you!
Dear Steve,
Something went wrong here in this sentence. I changed the text to:
For targets not ending at midnight, there you can add the time part to this field since the column is declared as a datetime field in the database. Whenever you enter a date without a time part, then it assumes that the time is midnight.
Let me know if you still have questions!
I think that might be an error into the string. After I’ve pasted into the sql designer it asked me to put values of the parameters inside the quotation marks
But did you create the table with the same field names earlier?
When I am in powerpoint and have added the connection, after that when adding the query, “QueryTargetDate” does not appear in the list of options, only “TableTargetDate” – any ideas on how to get the query to appear on the list?? Thanks in advance
I am having issues with adding the QueryTableDate – it does not appear in the sources box after clicking on Add Query. Only “TableTargetDate” appears. Any ideas on how to get the link in the list? Thanks in advance
Hi there, please create a trouble ticket for this issue at https://presentationpoint.com/support/. Happy to assist you there.
If it asks for parameter values, such as “d” then just insert d, if it asks for “00” then insert 00 and so on. It worked for me. Hope this helps.
Genius is a genius 😉 Just follow what he said and you get the output correctly, not erros in the fields.
IT’s the ” ” marks if you replace them in notepad it works
SELECT Format(DateDiff(“d”,Now(),[Target]),”00″) AS days, Format(DateDiff(“h”,Now(),[Target]) Mod 24,”00″) AS hours, Format(DateDiff(“n”,Now(),[Target]) Mod 60,”00″) AS minutes, Format(DateDiff(“s”,Now(),[Target]) Mod 60,”00″) AS seconds FROM TableTargetDate
Good finding Chris. In our HTML code we had to replace the ” character by its HTML equivalent "
Now you can easily copy and paste.