

1.Introduction
The VideoPoint add-on for PowerPoint allows you to embed live video signals from internal and external sources in your PowerPoint slide show. The best known internal video source is probably a webcam. Think about an IP camera or security webcam for an external video source that can be displayed.
2.System Requirements
Microsoft Office 2010 and up. Does not work with the free Microsoft PowerPoint Viewer application.
.NET Framework 4.7. Read full specifications here.
Supported Client Operating Systems:
- Windows 8
- Windows 8.1
- Windows 10
Supported Server Operating Systems:
- Windows Server 2008 SP2
- Windows Server 2008 R2 SP1
- Windows Server 2012
- Windows Server 2012 R2
- Windows Server 2016
- Windows Server, version 1709
3.Getting started
Output from a local connected webcam is great to address customers directly. Like a mirror, with an individual message. Or you can display remote CCTV images from an IP address on your slides.
It is easy to add one or multiple cams to a slide. But the most important is to have other space on your slides for your messages, like a text for a product or promotion, or instructions in case there is a theft in your shop.
After the installation of VideoPoint, you will have a new item called VideoPoint in your PowerPoint ribbon.

Click to open the VideoPoint menu to see its options.

4.Video shapes
In the first group of menu items of the VideoPoint ribbon, you will find the Shapes group.

When you are on a slide, you can click the Insert button. This action will insert a special VideoPoint shape as a green shape, to host your video output.

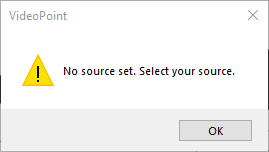
You can always use the Test button to test your VideoPoint shape. This will give an error that nothing is assigned or set. If this was set correctly, then you can see a preview of your video settings in a special popup form.
Note that in design time, while you are setting up your presentation, the video source will not display. You will keep seeing this greenish shape as the VideoPoint placeholder. The VideoPoint shapes will only come to live when you start the presentation as a slideshow.
Select a VideoPoint shape and click the Remove button when you want to drop the shape.
5.Sources
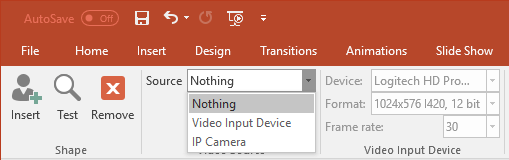
The first step after inserting the shape is to indicate where you will get your video signal from. There are (next to Nothing) 2 options. A Video Input Device for a local video source on your computer. Or an IP Camera for a video source on your network or the internet.
Based on the value that you select here, the next groups in the VideoPoint ribbon will get enabled or disabled. On the right side of this Video Source group, there are 5 other groups.

When you select the value Video Input Device as the video source, then the groups named Video Input Device and Audio Input Device are enabled. Based on this selection, the IP Camera group is disabled for obvious reasons.
Choose IP Camera as video source and the group IP Camera will get enabled.
5.1.Video input device
For a local video input device, you can set some video and some audio options.
At the Video Input Device group, you can choose your Device, format and frame rate.
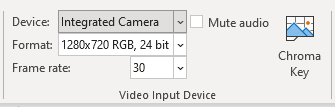
First of all, start by selecting device. Open the combobox and you will see a list of all video sources that are connected to your computer.
After that, open the Format combobox and choose a resolution from the list.
And finally, you can select a Frame rate from the list.
These are all technical specifications. Refer to the manual of the selected device for more information on the different options.
When you are using an external microphone for your slideshow recording, then probably you want to mute the audio that is coming from the webcam device. Check this option Mute audio to not use the audio of your webcam.
Click to Chroma Key button if you want to replace the green screen behind you with an image. Click to enable the Chroma Key feature and select the picture that you want to apply.
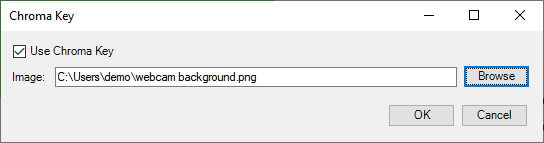
Click OK to close.
5.2.Audio input device
In the Audio Input Device group, you will find similar options.
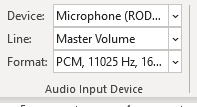
First, select the audio device to capture the audio from. Based on that selection, you can select the Line from the Line combobox values. And finally, select the Format that you want to use for audio playback.
Note: For the hardware specifications, refer to the manual of the selected device for more information.
5.3.IP camera
When the video source is set to use an IP Camera, then this group of the VideoPoint ribbon gets enabled.
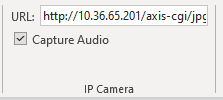
In the URL text box, type in the URL of your IP camera source. Note that the IP address or domain name is very specific to your hardware, configuration and setup.
A possible URL could be
http://10.36.65.201/axis-cgi/jpg/image.cgi?camera=1&resolution=320×240&compression=25
or when it is secured:
Check to capture the audio from the IP Camera, or set it to unchecked if you don’t want audio from this source.
Check with your administrator on the IP address and also check the camera manual for specific instructions on the parameters in the URL. Those are the vendors and model specific.
6.More
A cool feature of VideoPoint is that you can place overlays on top of your video output. Two types of overlays are possible. You can place some text or place an image over your video output.
A text overlay is typically seen in the security cameras where you can put the name of the camera for each location in your shop.
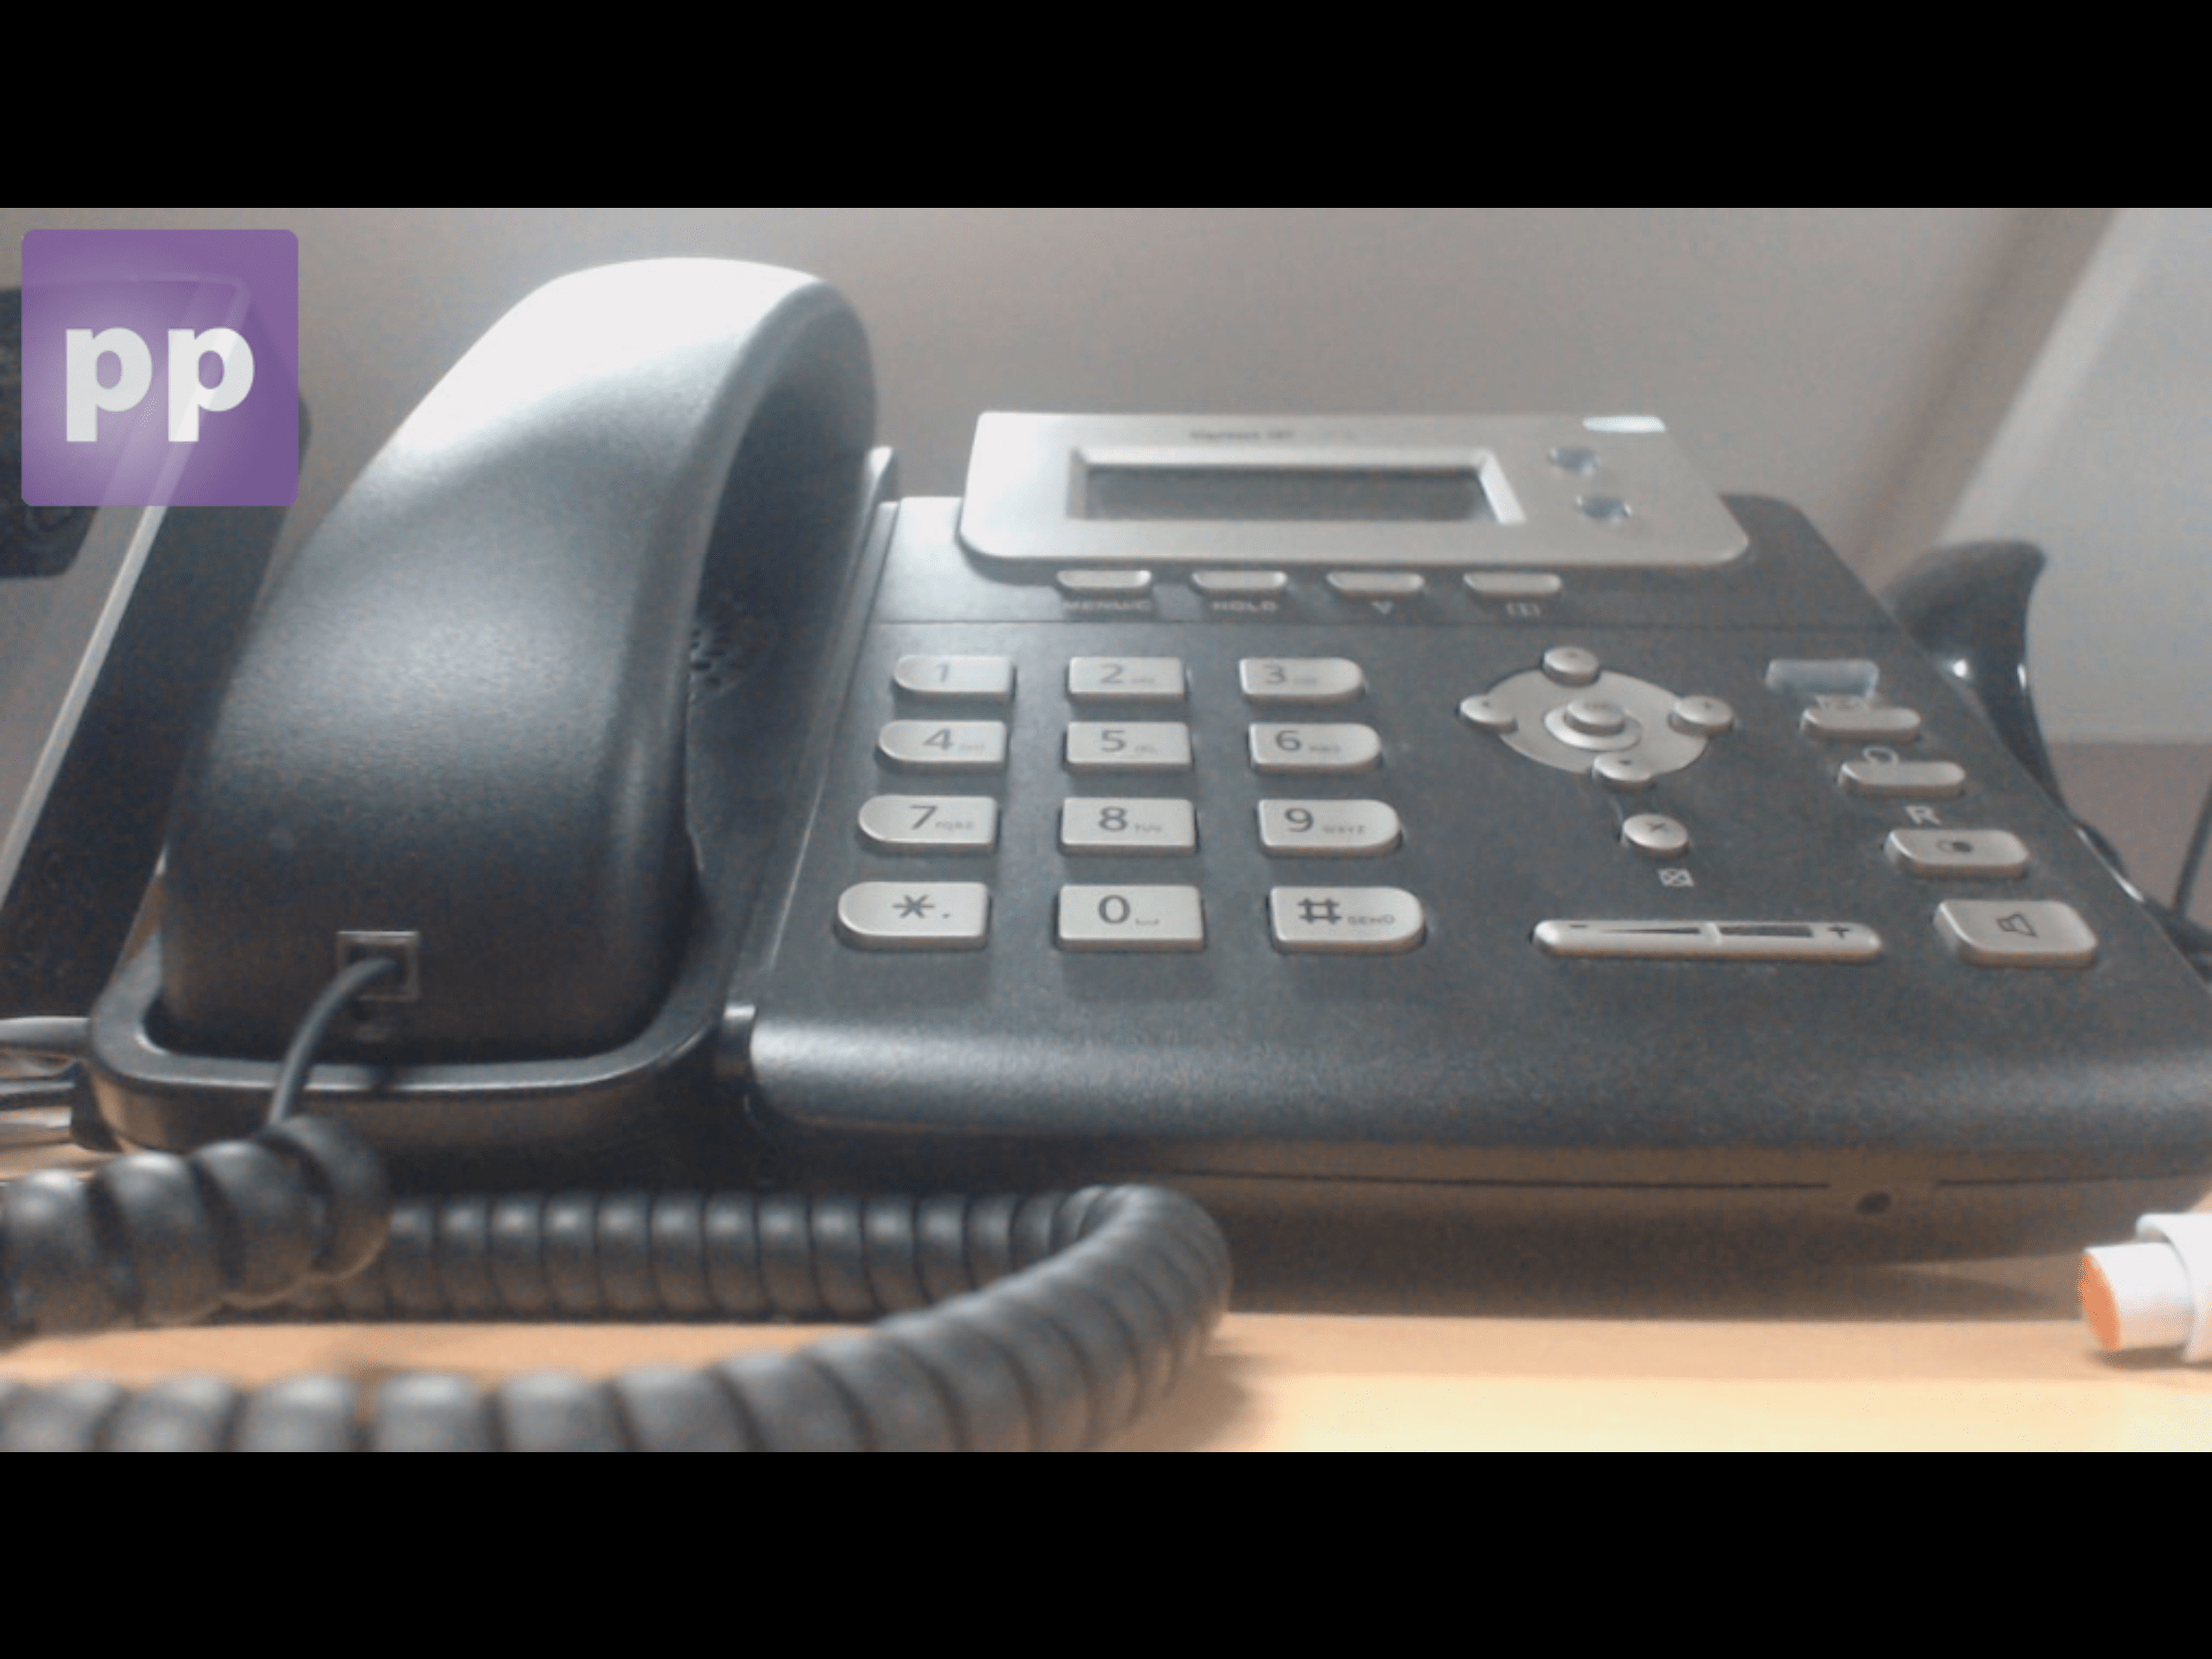
And also a picture you know as the icon or picture of the television station the same as you can see in your television.
Next to the overlays, you can also crop the content of your cam.
6.1.Text overlay
Click the Text button from the Overlays group to activate a text overlay on your video output.
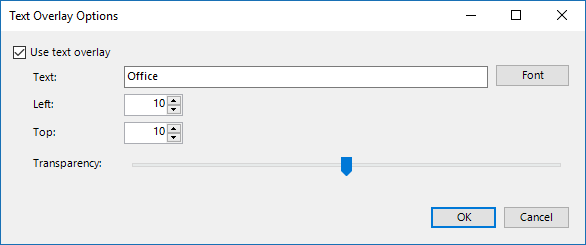
Check the option Use text overlay to start.
Type in the text that you want to use and use the Font button to choose a specific font. Note that the font that you set here, should be available and installed in the computer where you want to continuously run the slideshow. Don’t forget about that.
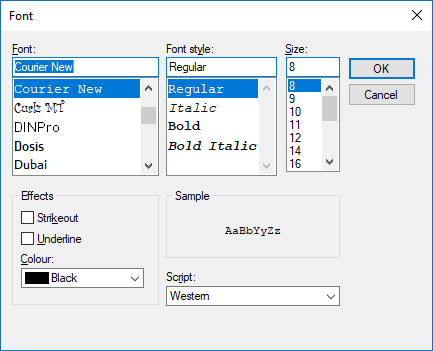
Make the size large enough to see on your output and select the colour that you want to use.
Change the Left and Top value to position your text on the video output. These numbers are the number of pixels and indicate the starting position of the text being placed, relatively from the top left corner of the VideoPoint shape.
Use the transparency slider to make your text a little but transparent. Move to slide completely to the right. This will have no transparency on the text at all.

6.2.Picture overlay
Next to text, you can place a picture or icon on as an overlay on your video output. Click the Picture button of the Overlays group to open its properties.
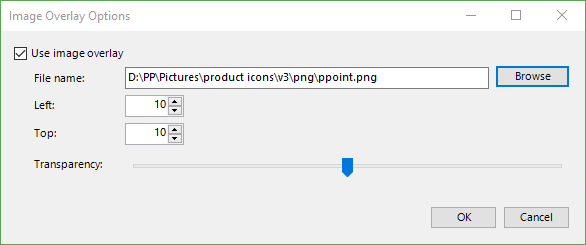
Check the Use image overlay option to enable all controls. Use the Browse button to browse for the image. Once that the image is selected, click Open to close.
Change the Left and Top position to position your image in this place, calculated from the top left position of the video output.
Change the Transparency slider to control the opacity of your picture. Set the slider completely to the right for no transparency at all.
6.3.Crop
Instead of display the full content of your webcam, or of your IP camera, you can also choose to crop the output to a smaller area.
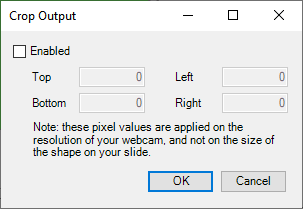
Check the Enabled option. After that, you can set a value for the top, bottom, left and right position.
The value that you enter here, are extracted from the pixels of your camera.
If your webcam outputs a resolution of 1280 x 720, then you can set the left and right values to e.g. 200 pixels each. This means that the full width of 1280 pixels, is shortened with 200 pixels from the left and the right, so that the cropped version of your webcam is more like a square instead of rectangle.
7.Settings
Click the Settings button if you want to control where the slideshow is running. PowerPoint can run on a computer with 1, 2, or multiple screens. If you are running the active slide show on your second monitor, and the VideoPoint controls is displayed on screen number one, then use this option here below, and set the active screen to display number 2.

8.Change log
Version 2.6.1 • 27 May 2021 • released
- Option added to mute the audio of a webcam
Version 2.6.0 • 17 May 2021 • released
- Bug fix for missing DLLs for Chroma key feature
Version 2.5.0 • 10 Mar 2021 • released
- New feature to crop the webcam and cam output
Version 2.4.0 • 17 Dec 2020 • released
- Merged 32 and 64 bits setups as one setup
Version 2.3.0 • 9 Oct 2020 • released
- Chroma key feature
Version 2.2.0 • 3 Sep 2020 • released
- Bug fix for when you have multiple webcams connected to your system
Version 2.1.4 • 16 Jun 2020 • released
- Slide switching with faster camera loading and showing
Version 2.0.0 • 25 Mar 2020 • released
- Same good old VideoPoint plugin but here with our new subscription license model
Version 14.1.0, 15.1.0, 16.1.0 • 6 Jan 2020 • released
- Put a video shape control on the slide master so that it is visible on all slides
Version 14.0.15, 15.0.15, 16.0.15 • 13 Jul 2018 • released
- Switch to .Net Framework 4.6
- Multi-screen support