
You can connect a few types of cameras to your computer. First of all, we have the (internal or external) webcam. You can connect your photo or video camera. Or (via a long way) you can connect to any IP camera worldwide. Think about security cameras in a shop, mall or factory. And you can even display streaming video from an URL.
With our VideoPoint plugin for PowerPoint, you can now bring all those cameras to your PowerPoint slides. Think about doing a remote presentation from home to a customer (we are writing this in full COVID-19 times). You can run through your sales presentation but would it not be better and more personal if you could add your webcam to your slide show? Or in a shopping mall, you can run a slideshow with multiple pages and display multiple IP security webcams on a slide. What is the advantage of using PowerPoint for this, you might ask! Well, you can add text boxes with instructions or important telephone numbers like police, fire, chef, etc.

Use our VideoPoint plugin for your camera work. Install it and find a new VideoPoint item in the normal PowerPoint ribbon.

Click the Insert button to insert a green screen on the current slide. A green screen is a technique in the film industry to replace the green screen with another video in the after processing as if it were shot that way.
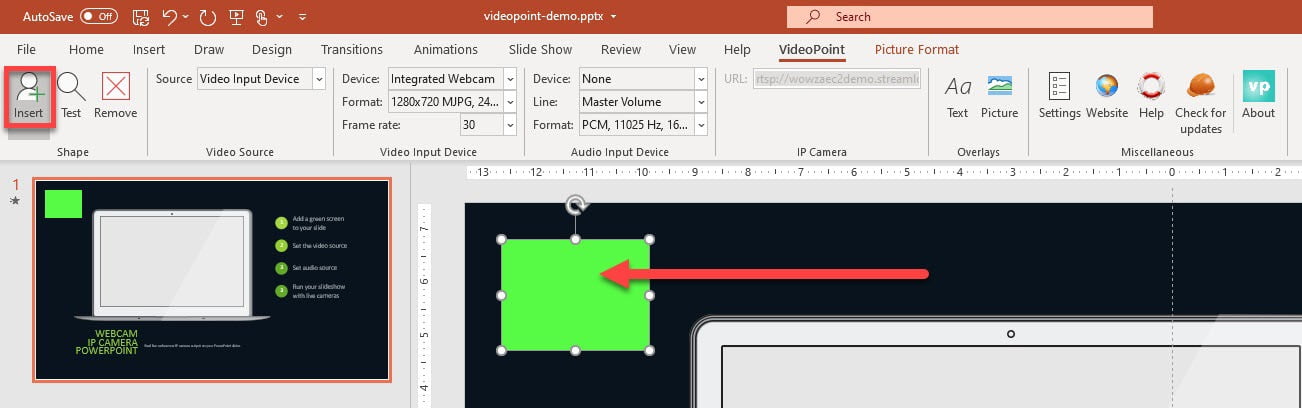
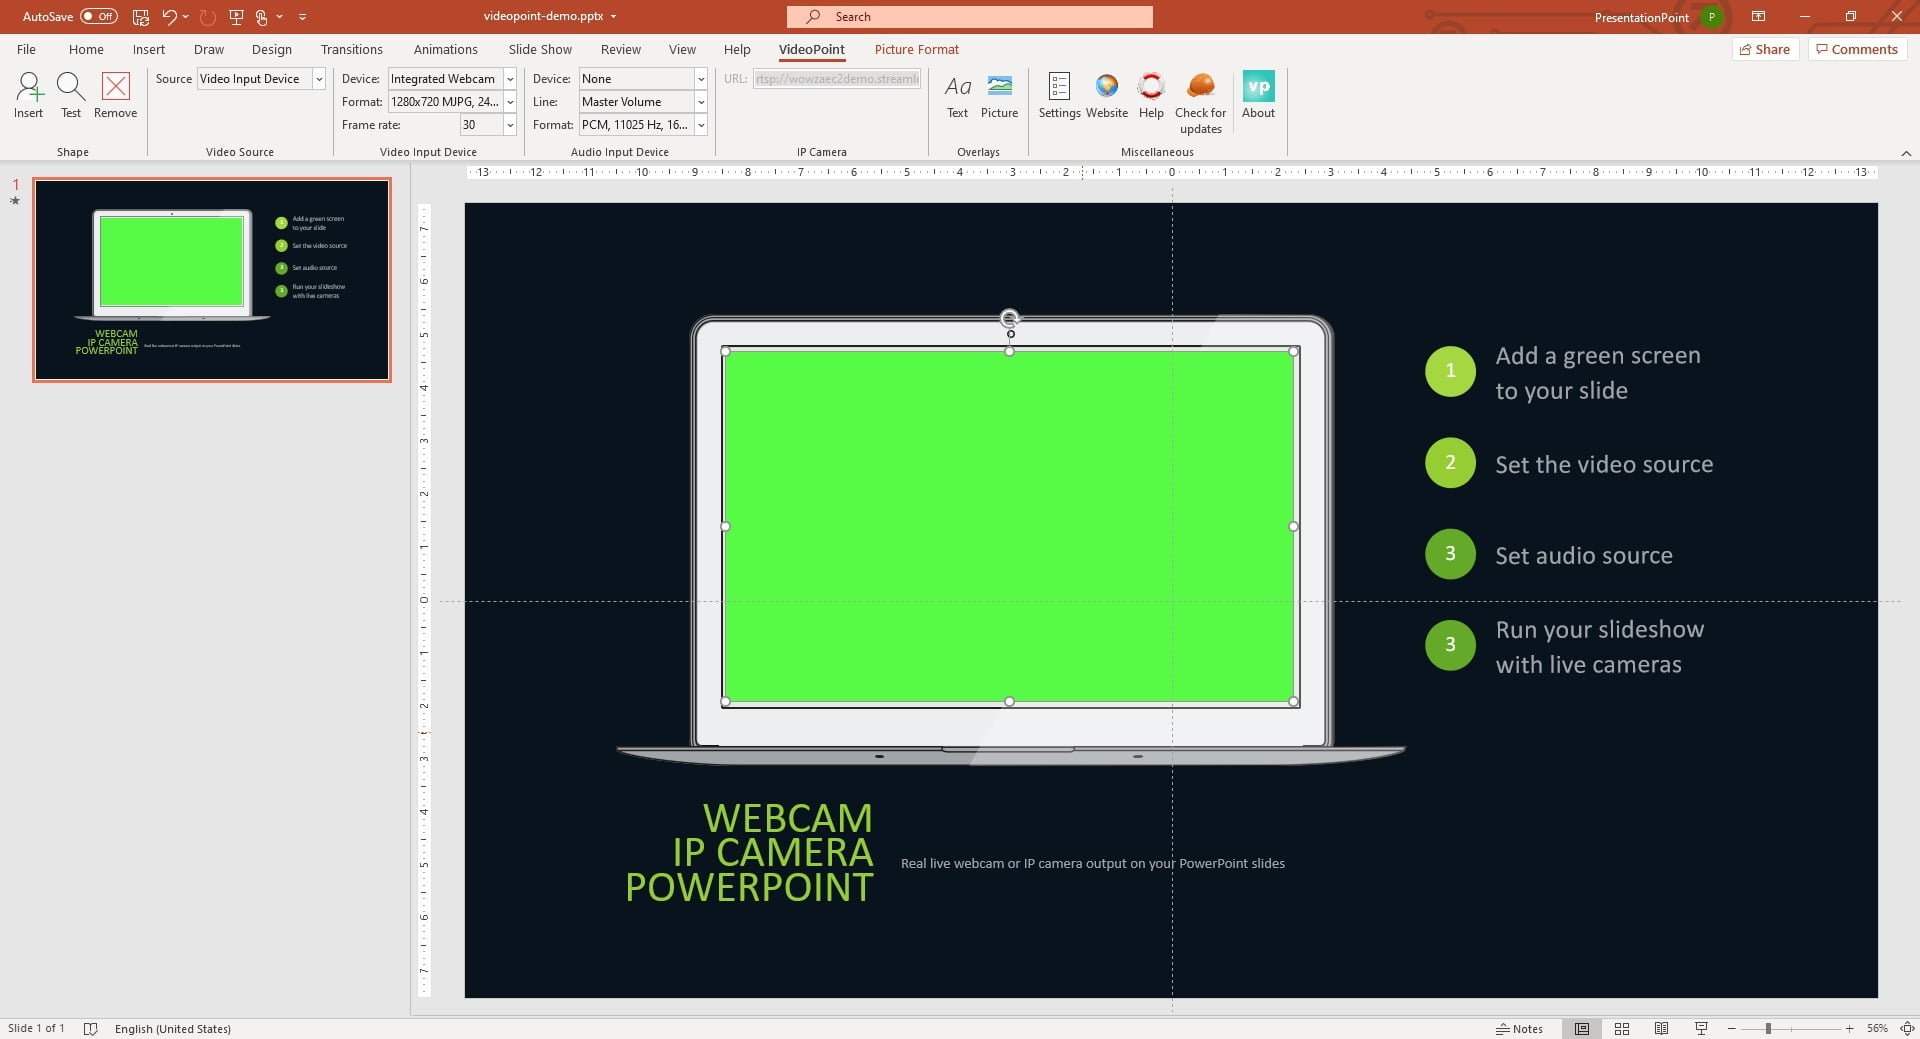
Select the green screen and position and resize the shape to the desired size and location. At this time, now camera input is taken yet. It will be processed when you run the slide show later on.
We set the source of the camera. You have 3 option here:
- Video-Input Device
- IP Camera
- and Nothing
A Video Input Device is taken when you want to use a local camera that is directly connected to your computer. Typically via USB. Most likely we are talking here about a webcam.

Based on your chosen input source, other controls will become available. For video input devices, we have:
- Video input device options
- Audio input device options
When you have more devices connected to the computer, when you click to open the device combobox of the video input device to select the device that you want to use. Furthermore, you have some more options like the format or resolution and the frame rate for the video input device.
For the audio input device, you have similar options. First of all your select the device that you want to use to capture the audio, the line in and the format.
All this information is stored in your green screen shape.

Run the slide show and the green screen shape will be replaced with the video coming from your selected video device.
If you set the video source to an IP camera, then the video and audio input device controls are disabled and you can only set the URL that points to your streaming server. Typically the RTSP protocol is used for this. RTSP stands for the real-time streaming protocol.

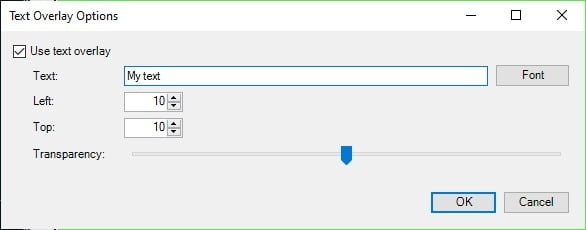
For local cameras and IP cameras, you can optionally place a text or an image on top of the video output. See it like a channel icon that you see on television. The logo of the channel that is always visible in the left top corner.

For text overlays, you can, of course, specify the text that you want to display over the video. Click the Font button to control the color and other font specific settings like bold, italic and size. Furthermore, you can control the position of the text and the transparency.
An image overlay allows you to browse and select the picture that you want to use. Use the left and top values to control the position of the image and choose the transparency setting that you want to use.

And again is PresentationPoint adding great and unique functionality to PowerPoint that does not exist in PowerPoint itself. Start using our free 15-day trial today.


Hey there.
I was wondering, can I send the presentation file to another pc or mobile device that doesn’t have installed of the VideoPoint? and show it there without the installation?
No that will not work. VideoPoint is a plugin and is extended the normal features of PowerPoint. So without the plugin installed on the other computer(s), this functionality will not be available.
Can you import and have live multiple livestreams from different IP addresses at the same time?
Sure, you can insert multiple green screen shapes on a slide, and show information from various sources, all together.
is there a way to use / insert an alternate background in the webcam video using VideoPoint ??
Hi Kenneth, not with the current version you have, but we are planning to add this functionality where we can remove a specific color (e.g. green) from the background. Send in a trouble ticket if you want to receive a copy of the new version.
I added my webcam video but couldn’t save it. When I tried to save and play what I had recorded, all I see is the green box ?!?
Henry, it is not intended to record you webcam. It is there to show your webcam (or IP camera) with you, when you show your slideshow.
hi, I am an instructor and would like to overlay my cam fed live “half body” on the powerpoint slides I use to teach mathematical ecology and epidemiology, to make online teaching much more engaging (to clarify, as anchor people presenting whether forecasts on tv – but in my case, the background is a set of animated powerpoint slides). I would be happy to do it off line (after I prepared the ppt slide presentation with all the text animations, I enter presentation mode, start my video cam, record my lecture, and then post it) and, if possible, also in live stream mode. I was wondering whether Videopoint is the software I am looking for, as it seems it integrates video capture with (a physical) green screen, directly in powerpoint.
best
Hi Giulio, thanks for your interest, but placing another powerpoint shape over the videopoint shape is not possible. We can only get webcam output in powerpoint when we draw our VP shapes over (on top of) your slideshow.
So basically, the VP shapes are, when running the slideshow, not part of the slideshow. You see?
thank you for the prompt reply, too bad that it doesn’t work (yet?).
happy new year!
It will come for sure. Happy New Year to you too!
Can the video image from the camera source be less artificial, say within a circular frame to provide a smoother feel instead of a rigid square?
Hi Joeseppe, no, that is unfortunately not possible. It comes in the same aspect ratio and format as the webcam is. No option to make e.g. a circle out of the video cam.
If I buy two licenses for a team when I share the PowerPoint between the two computers do I have to reconfigure each box for that specific computer?
You will have to install the VP setup of course, just once.
After that, all VideoPoint information and settings, is stored inside the pptx. So no.
When you open it on the 2nd computer, it will work, if you have the same webcam name and settings of course. OK?
Der User der die Präsentation empfängt muss auch die Software PresentationPoint installiert haben? Oder kann er das Bild über Teams Empfangen ohne Software ?
Best to use our software on your computer and share everything via zoom or teams to the other side!
is video point available for Mac users?
No sorry, Windows PowerPoint only.