
OData or Open Data Protocol, allows you to connect to RESTful APIs in a simple and standard way. Typically you will find an oData service with one or more resources with data. DataPoint allows you to connect to an oData service (and more).
You can use DataPoint to connect your PowerPoint presentation to an oData service for 3 reasons and advantages:
- When you open your DataPoint-enabled presentation, you will see an update of the slide content, so that you always have the latest information in front of you.
- Start the slide show and see real-time updates on your computer monitor or information screen.
- You can generate a snapshot presentation with all data and sent it out as a multimedia report to customers or management.
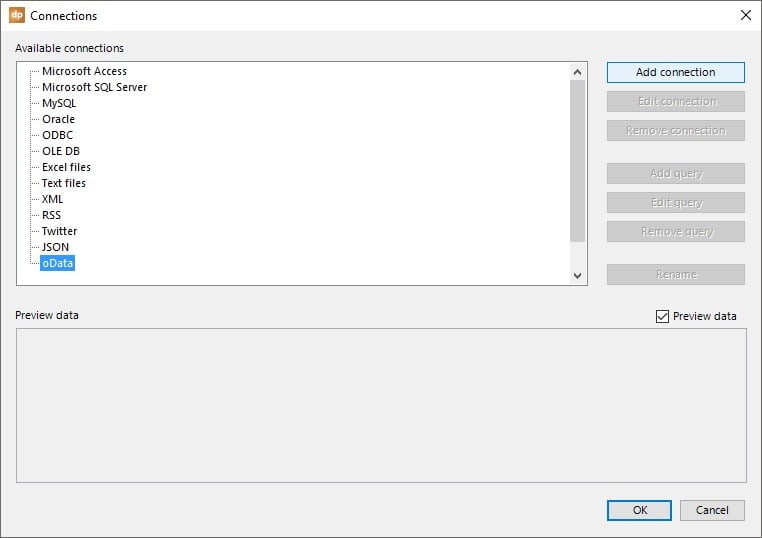
Start PowerPoint and click to open the DataPoint ribbon. Click the List button of the Connections group.

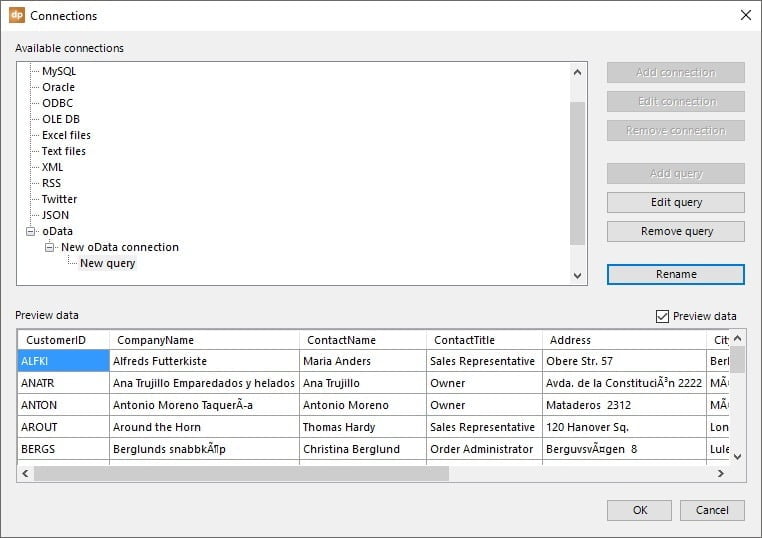
Select the oData provider node and click the Add connection button.
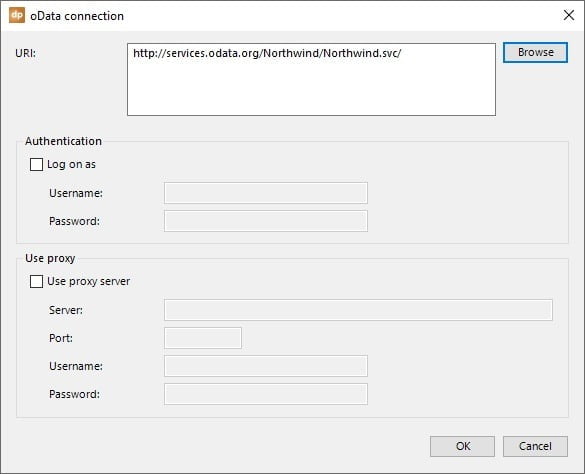
Enter the URI of the oData service that you want to connect to. An URI is the Uniform Resource Identifier, the address to connect to your service, much alike the domain name that points to your web site.
There is an open oData service that we can use for testing: http://services.odata.org/Northwind/Northwind.svc/
Hit OK to confirm.
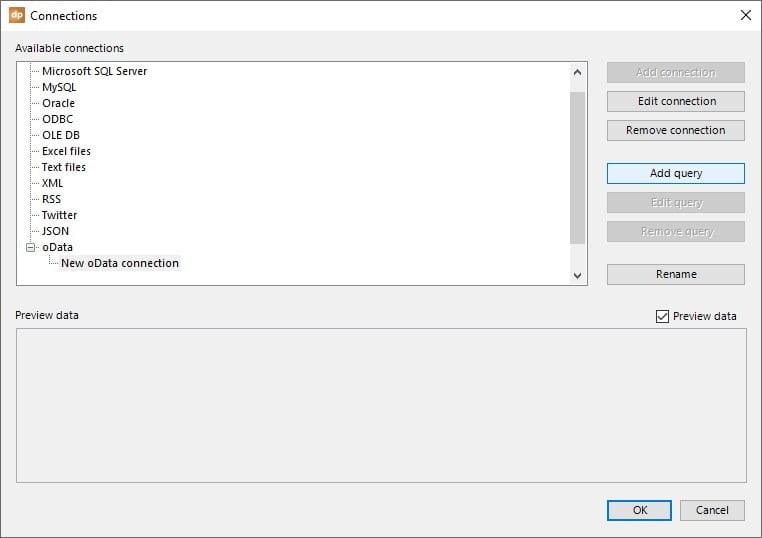
Click the Add query button to go further.
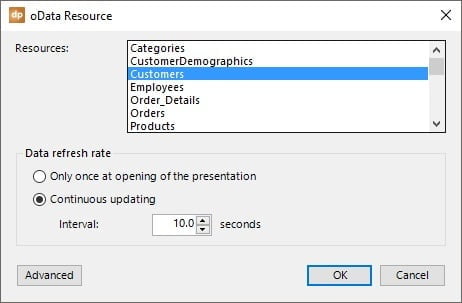
Here you get a list of all the resources that are available from the oData service. Select one and check or change the refresh rate. Here we want to see some regular updates and set the update interval to every 10 seconds. Click OK to close.
Our first oData connection is now ready in our presentation. We can see a preview of the data here. Click to close the connections form.
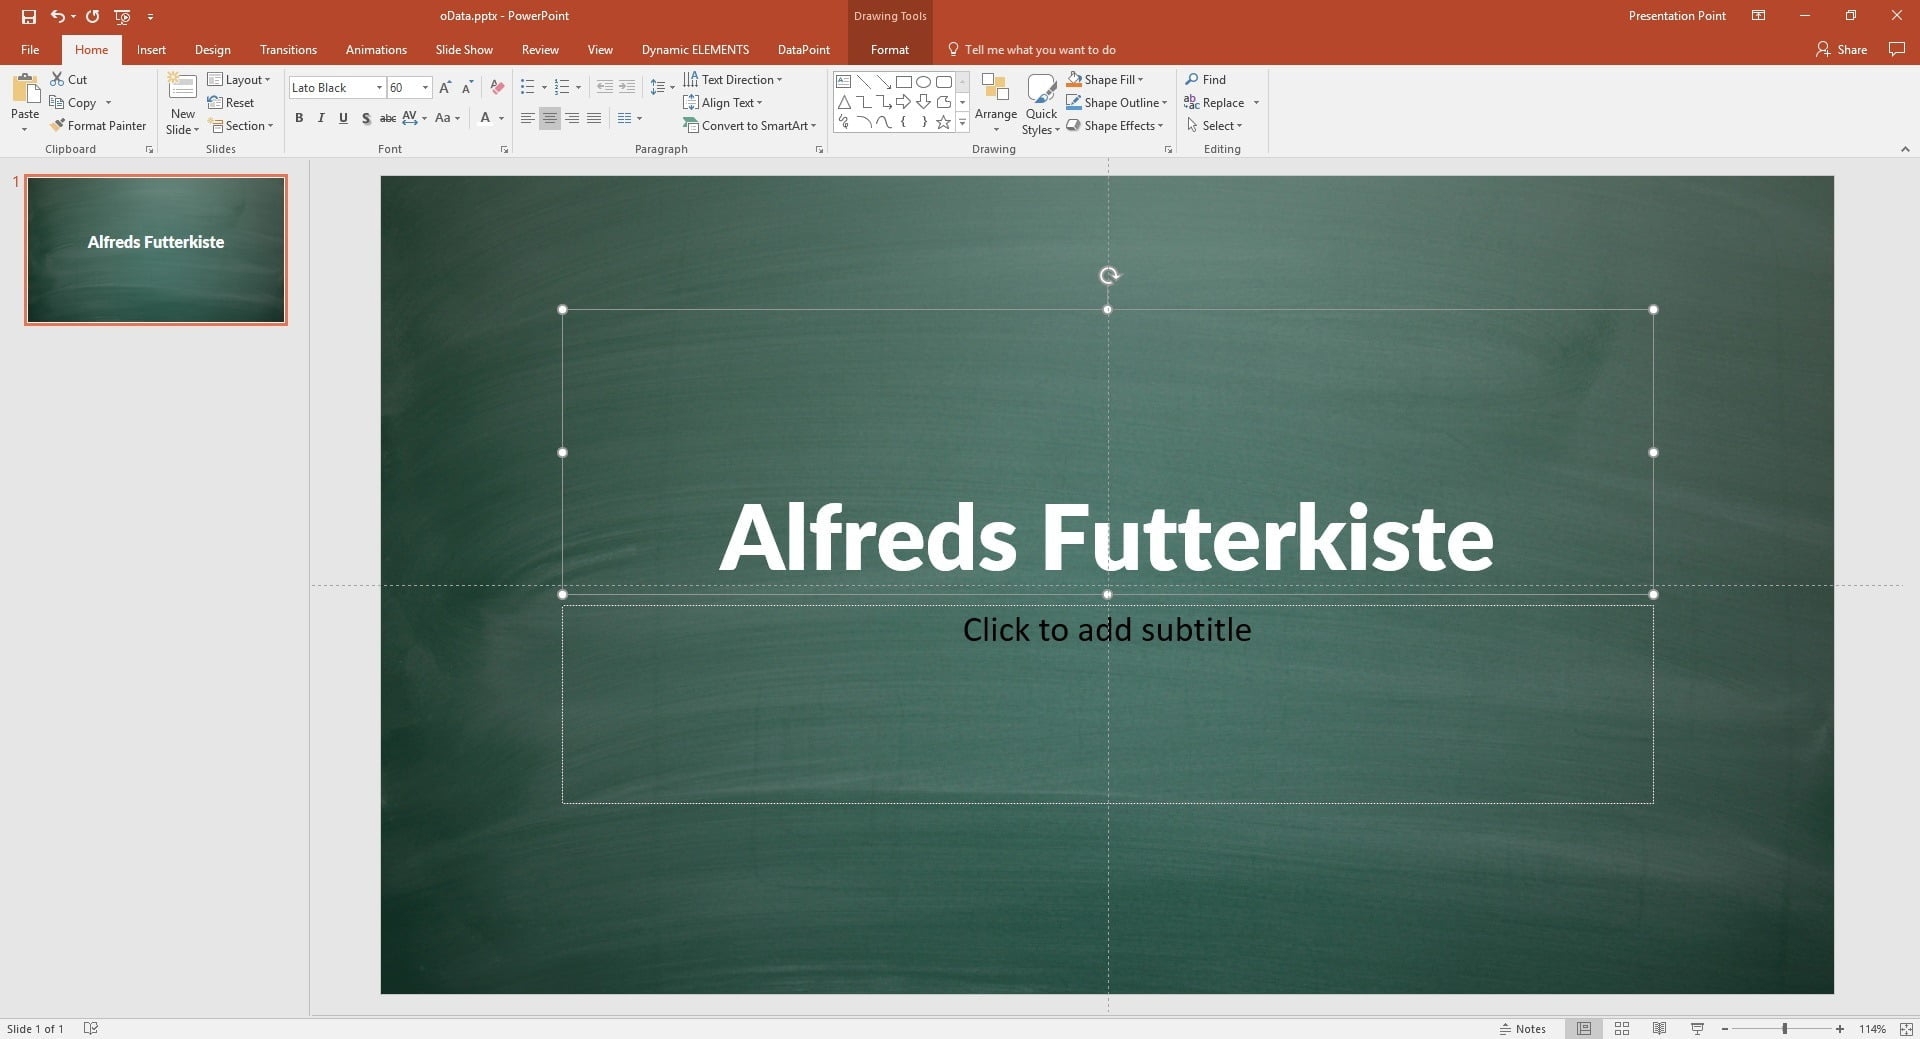
We can now start with a new slide. We will insert 2 text boxes on this first slide. And with the first text box selected, we click DataPoint and then the Text box button.

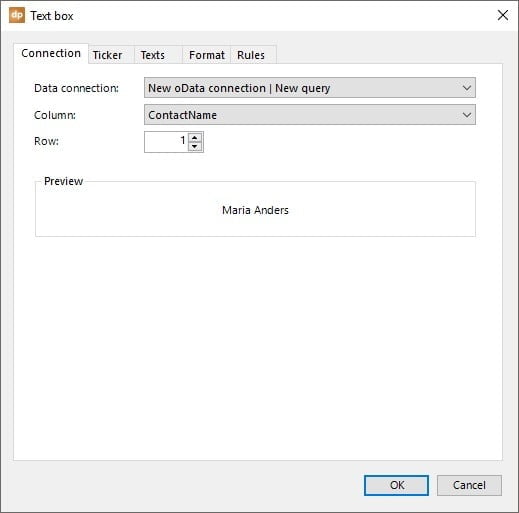
These are the text box properties that you can set. This is our first and only data connection. Set the column to CompanyName. Leave the row number to 1 for the data of the first row. You can see a preview of the value. Click OK to close.

The content of the CompanyName column of the first data row is now dynamically linked to this text box.
Let’s do another text box and link it to another column of the same data row.
We have linked all the text boxes to the oData service as we want it to be.

For the next time that we open this presentation, the dynamic linked information is refreshed. Whenever there is new information, it will show up on this slide when you re-open the presentation.
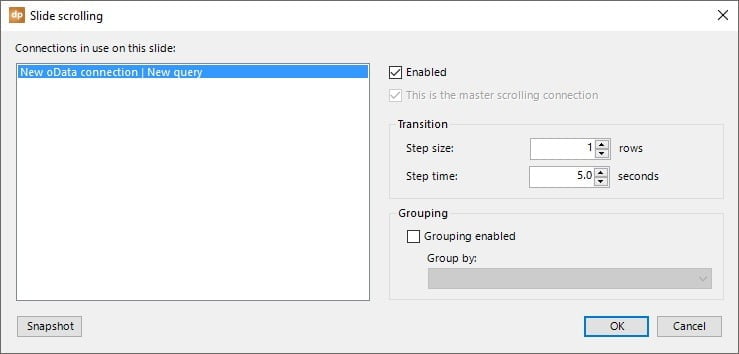
Let’s try to create a snapshot presentation for reporting and sending out. We want to use this same slide, but then one slide per customer automatically. Click the Scrolling button of the DataPoint ribbon. Select connection and check the Enabled option. That is all we need. Click OK to return.
Then click the Snapshot button and let it generate a new presentation with all the customer information.
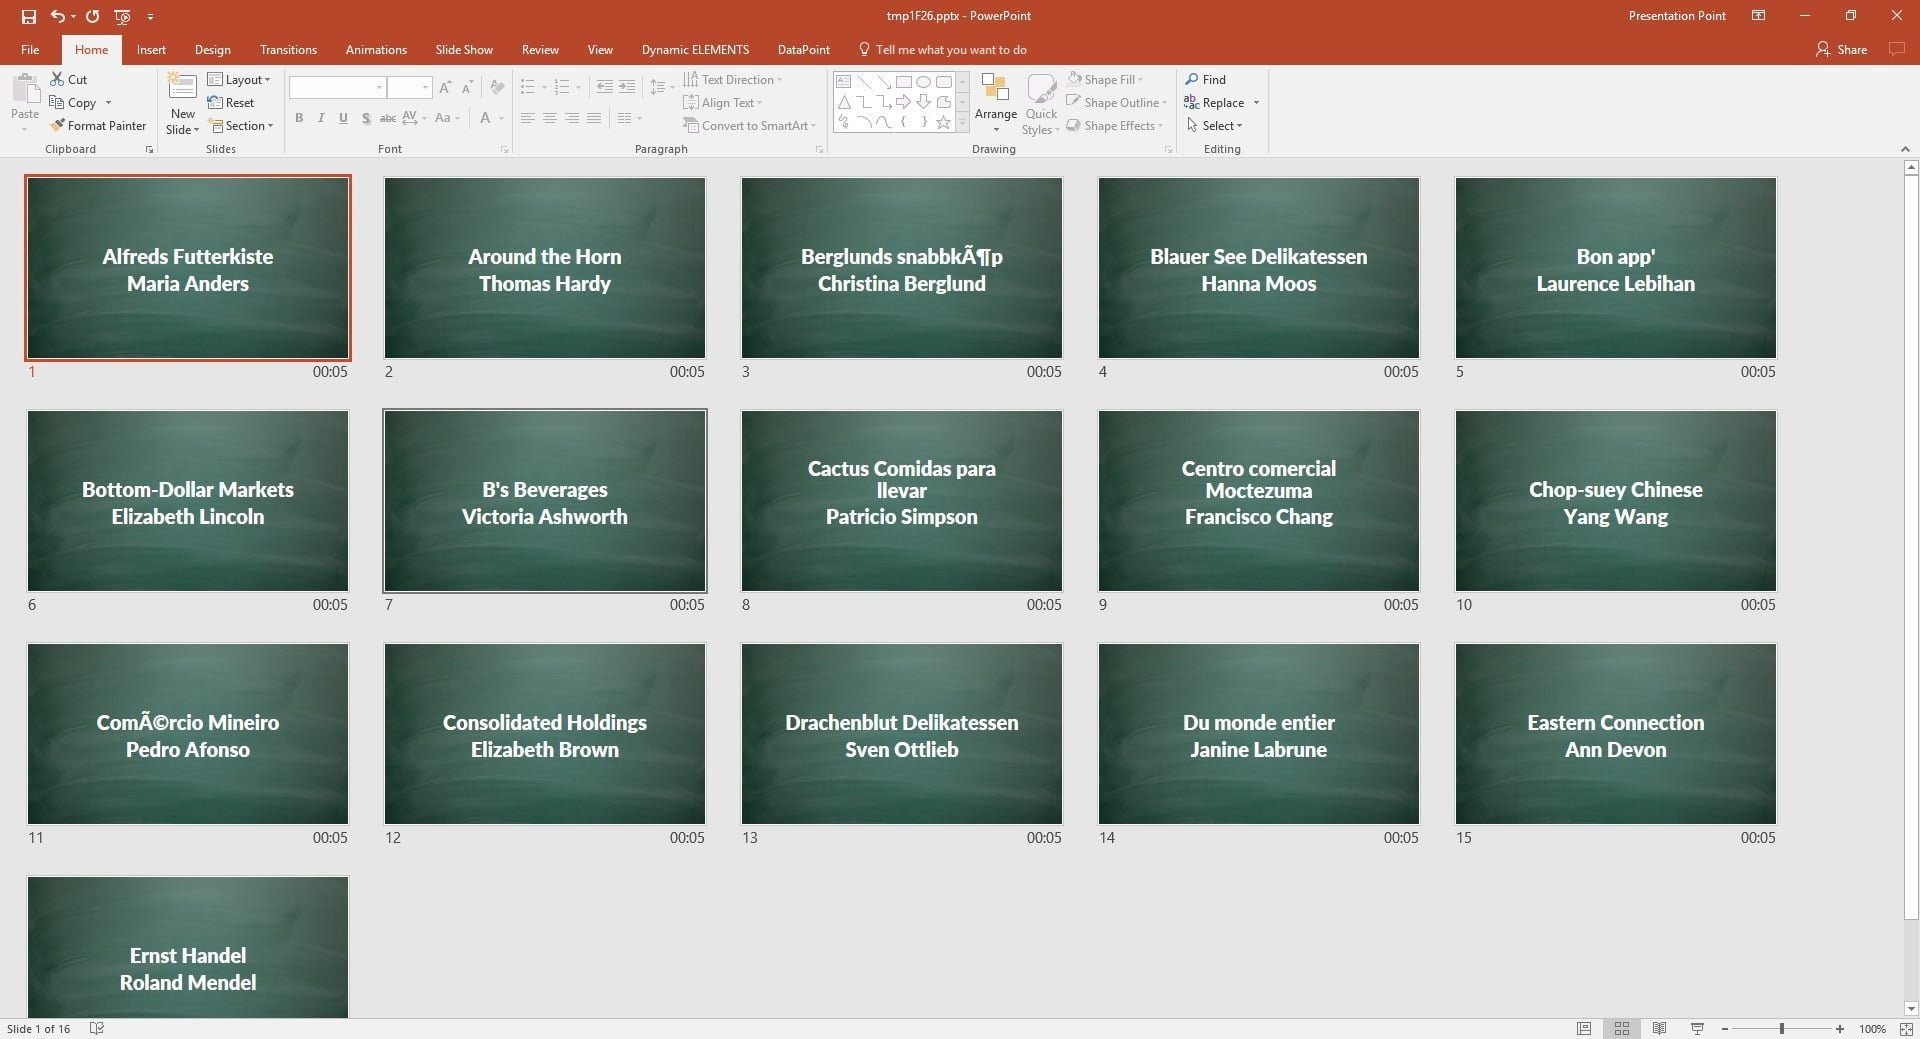
At the end of the snapshot generation, all information and links to the oData source are disconnected and it is ready for distribution.

