

1.Introduction
OutlookPoint is a Microsoft Outlook add-on that copies information from your Microsoft Outlook mailbox to a Microsoft Access database so that its information can be used in other programs such as DataPoint.
2.System Requirements
Microsoft Office 2000 and up
.NET Framework 4.5. Read full specifications here.
Supported Client Operating Systems
- Windows Vista SP2
- Windows 7 SP1
- Windows 8
- Windows 8.1
- Windows 10
Supported Server Operating Systems
- Windows Server 2008 SP2
- Windows Server 2008 R2 SP1
- Windows Server 2012
- Windows Server 2012 R2
- Windows Server 2016
- Windows Server, version 1709
3.OutlookPoint database
The OutlookPoint database can be found at C:\Users\[username]\AppData\Roaming\PresentationPoint\OutlookPoint. You can make copies of this database or move it elsewhere.
Typically, you choose to move the database to a shared folder in case that you want to make this information available to others or other applications like DataPoint, TickerPoint or iPoint.
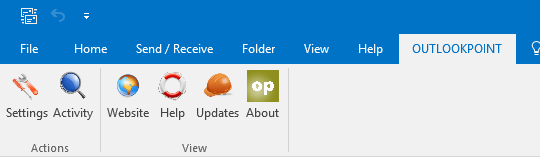
4.OutlookPoint menu
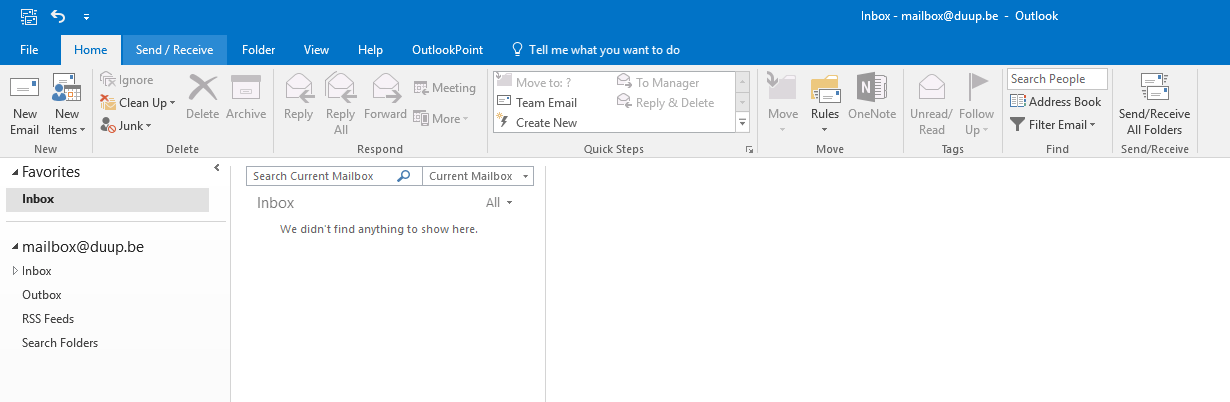
When OutlookPoint is installed on your computer you can start Microsoft Outlook and you will see a new item called OutlookPoint in your Outlook menu at the top. This means that OutlookPoint is completely installed in your environment and that you can now start configuring your OutlookPoint program.
OutlookPoint allows you to select one or multiple folders that will be monitored for its content. This content will be written to a Microsoft Access database for querying.
The following Outlook folders are supported:
- Calendar
- Contacts
- Notes
- Tasks
5.Setting up a mail folder
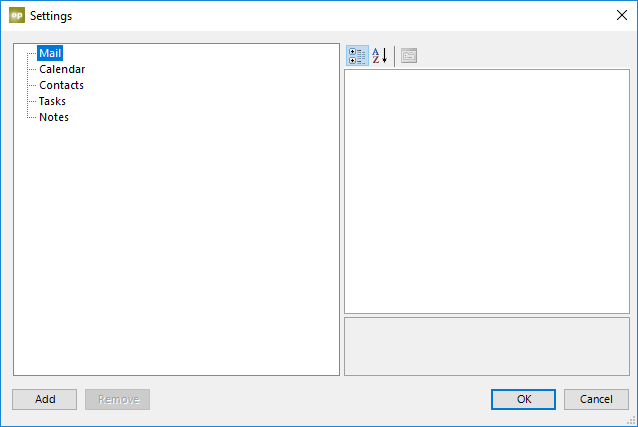
Choose to synchronize a mail folder when you want to save mail messages to your OutlookPoint database. Click OutlookPoint from the menu bar and select Settings.

Click on the first entry (Mail) in the tree in the left to start the configuration. Click Add to add a new mail folder.
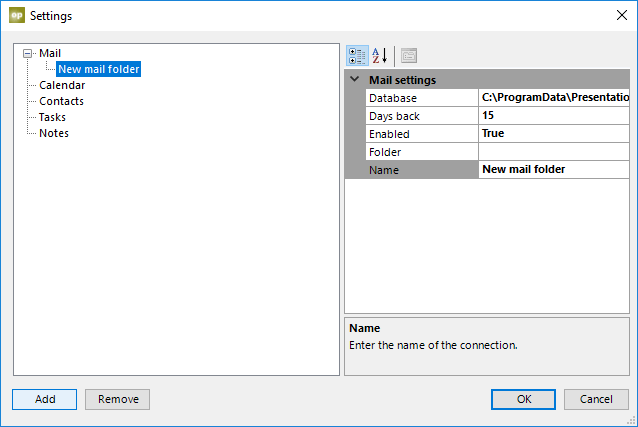
A new mail folder is added to the OutlookPoint watchlist.
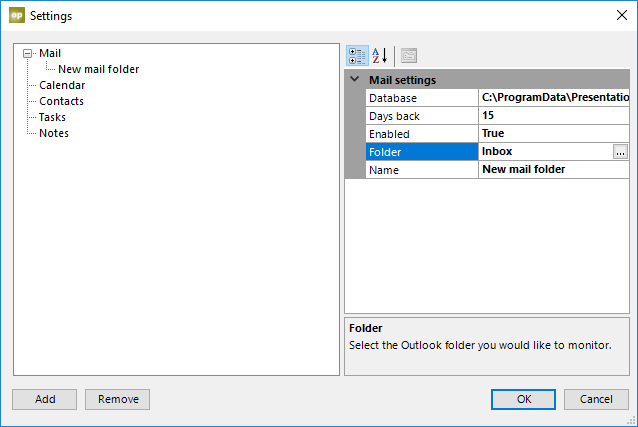
Go to the folder property and click on the button to browse for the folder.

Select the mail folder that you want to monitor and click OK.
Now you are more or less ready to get started. OutlookPoint will continuously monitor your selected folder and synchronize all mail messages between the given period. The period here in this example, goes back 15 days.
With the Enabled option you can optionally switch off the processing of this folder.
Click OK to close. OutlookPoint will now start synchronizing this folder to the Outlookpoint database.
6.Setting up a calendar folder
Choose to synchronize a calendar when you want to save appointments to your OutlookPoint database. Click OutlookPoint from the menu bar and select Settings.

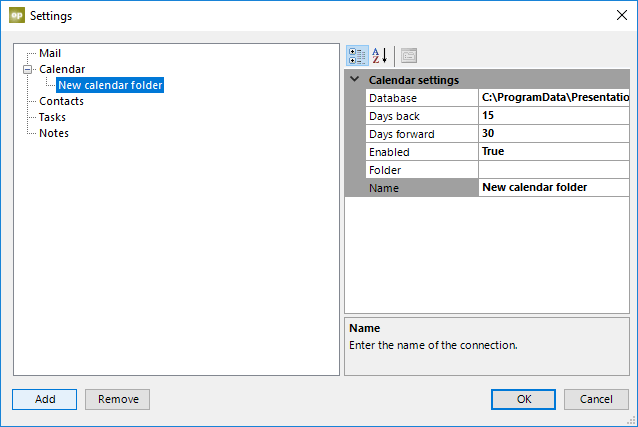
Click on the Calendar entry in the tree at the left to start the configuration. Click Add to add a new calendar folder.

A new calendar folder is added to the OutlookPoint watchlist.
Go to the folder property and click on the button to browse for the folder.
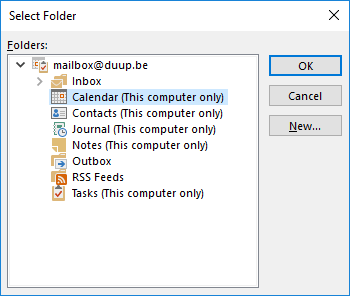
Select the calendar that you want to monitor and click OK.

OutlookPoint will continuously monitor your selected calendar and synchronize all appointments between the given period. The period here in this example, goes back 15 days and 30 days in the future.
With the Enabled option you can optionally switch off the processing of this folder.
Click OK to close. OutlookPoint will now start synchronizing this folder to the Outlookpoint database.
7.Setting up a contacts folder
Choose to synchronize contacts when you want to save contact persons to your OutlookPoint database. Click OutlookPoint from the menu bar and select Settings.

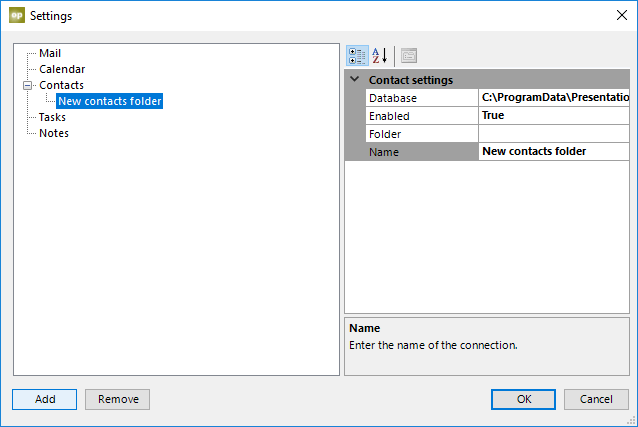
Click on Contacts entry in the left side section to start the configuration. Click Add to add a new contacts folder.

A new contact folder is added to the OutlookPoint watchlist.
Go to the folder property and click on the button to browse for the folder.
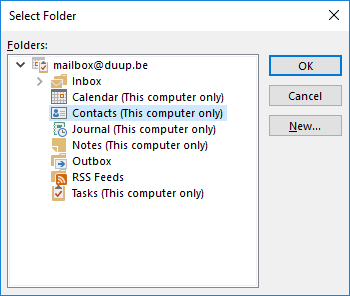
Select the contacts list that you want to monitor and click OK.
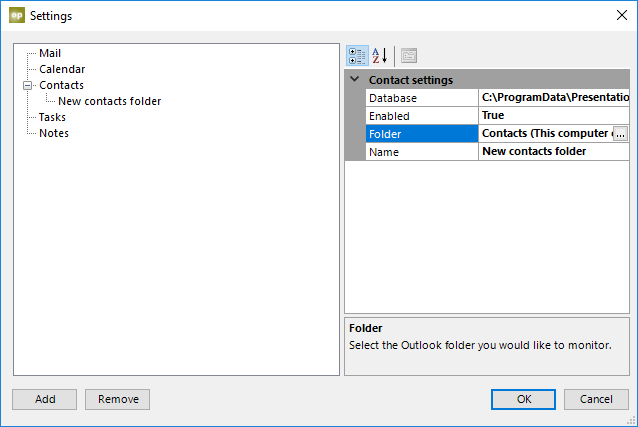
OutlookPoint will continuously monitor your contact list and synchronize all contact persons.
With the Enabled option you can optionally switch off the processing of this folder.
Click OK to close. OutlookPoint will now start synchronizing this folder to the Outlookpoint database.
8.Setting up a tasks folder
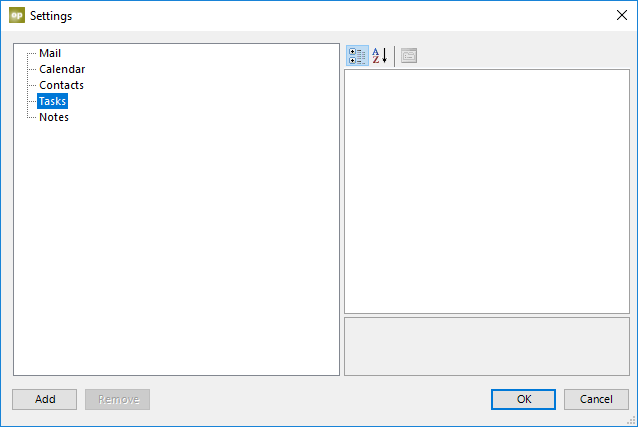
Choose to synchronize a task list when you want to save tasks to your OutlookPoint database. Click OutlookPoint from the menu bar and select Settings.

Click on the Tasks in the left to start the configuration. Click Add to add a new tasks folder.
A new tasks folder is added to the OutlookPoint watchlist.
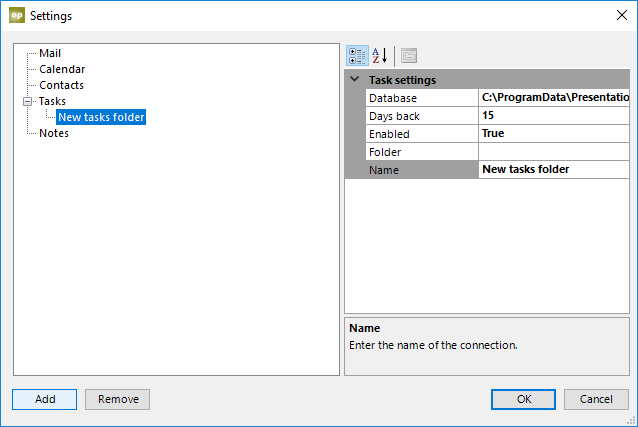
Go to the folder property and click on the button to browse for the folder.
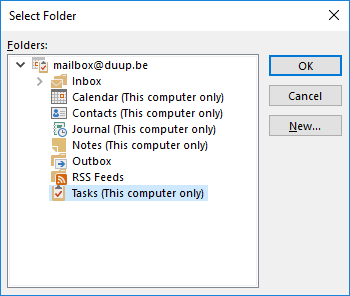
Select the tasks list that you want to monitor and click OK.
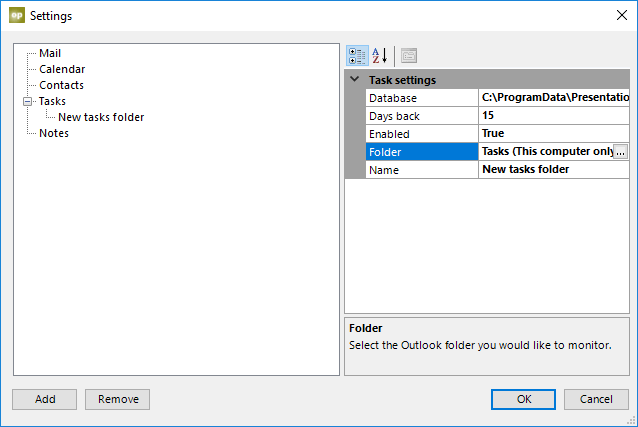
OutlookPoint will continuously monitor your selected tasks list and synchronize all tasks within the given data range. The period here in this example, goes back 15 days.
With the Enabled option you can optionally switch off the processing of this folder.
Click OK to close. OutlookPoint will now start synchronizing this folder to the Outlookpoint database.
9.Setting up a notes folder
Choose to synchronize a notes folder when you want to save notes to your OutlookPoint database. Click OutlookPoint from the menu bar and select Settings.

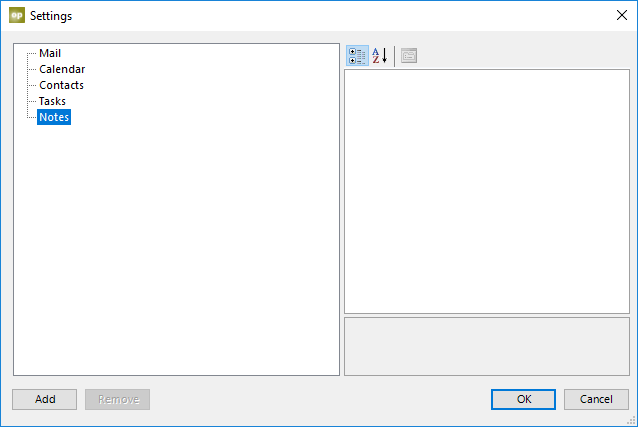
Click on the Notes entry in the left to start the configuration. Click Add to add a new notes folder.
A new notes folder is added to the OutlookPoint watchlist.
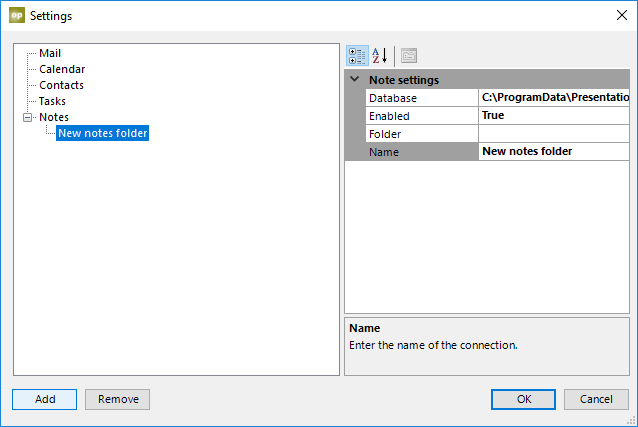
Go to the folder property and click on the button to browse for the folder.
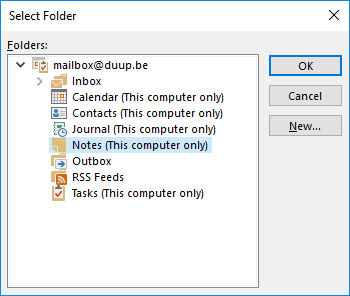
Select the notes list that you want to monitor and click OK.
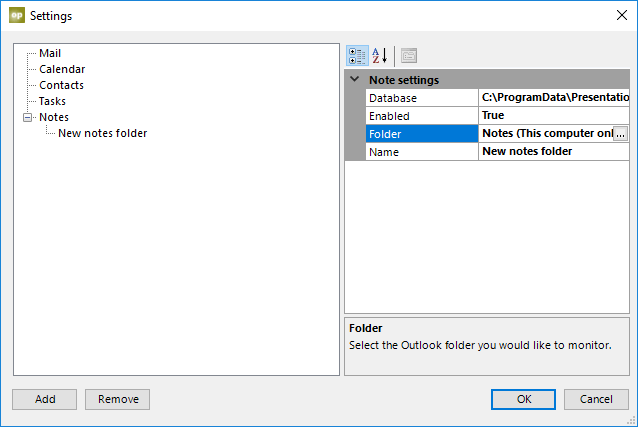
OutlookPoint will continuously monitor your selected notes list and synchronize all notes.
With the Enabled option you can optionally switch off the processing of this folder.
Click OK to close. OutlookPoint will now start synchronizing this folder to the Outlookpoint database.
10.Running OutlookPoint
When you have selected the folder(s) that you would like to monitor, OutlookPoint will start processing all items of the selected folder(s) and write the information into the selected OutlookPoint database(s).
If you want to find out what OutlookPoint is doing, click the Activity button.
This will open a window where you see more information regarding the actions of OutlookPoint.
