1.Introduction
The Dynamic Time is part of the full Dynamic Elements bundle and allows you to place a dynamic updating clock, date, timer, counter or countdown on your Microsoft PowerPoint slideshow.
2.System Requirements
Microsoft Office 2010 and up. Does not work with the free Microsoft PowerPoint Viewer application.
.NET Framework 4.7. Read full specifications here.
Supported Client Operating Systems:
- Windows 8
- Windows 8.1
- Windows 10
Supported Server Operating Systems:
- Windows Server 2008 SP2
- Windows Server 2008 R2 SP1
- Windows Server 2012
- Windows Server 2012 R2
- Windows Server 2016
- Windows Server, version 1709
3.Getting started
Start by unzipping the ZIP file and you will get this file.

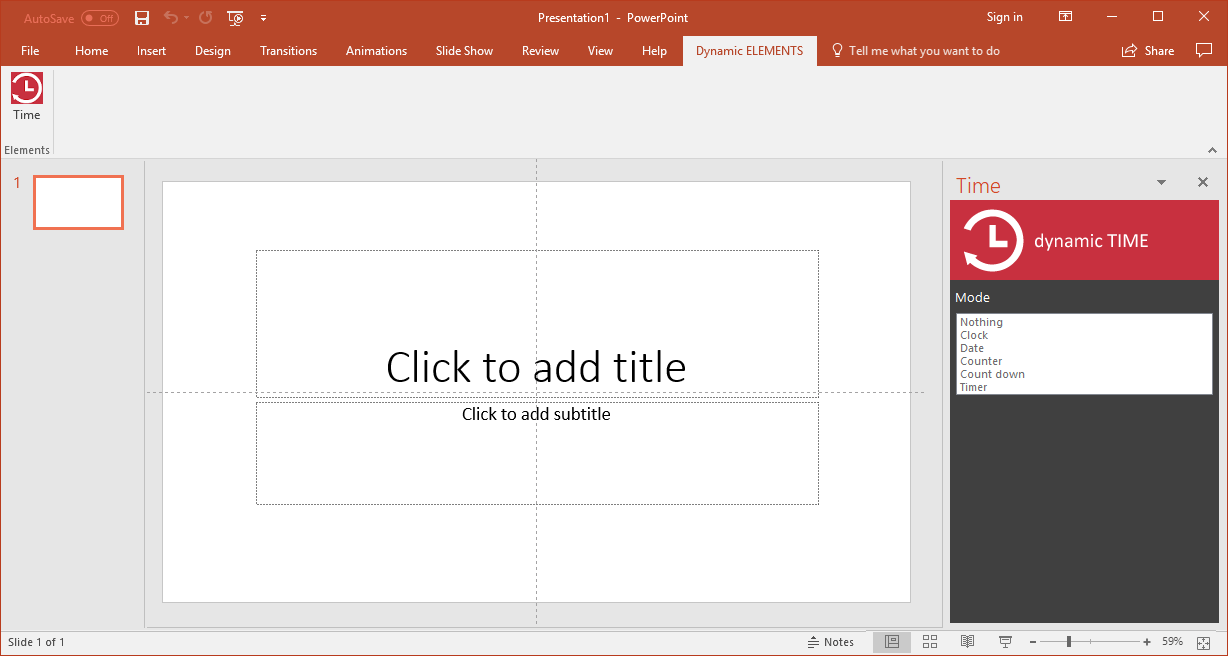
The DynamicTime.exe is the installation setup and it is best to execute by a user with administrative rights. After installation, you will see a new Dynamic Elements menu item in the PowerPoint ribbon.

When you click to open this Dynamic Elements menu option, then you will see the Dynamic Time button in the group.

In the event that you have, more add-ons of the Dynamic Elements bundle installed, then more buttons will show up here.
Click the Time button to open the Dynamic Time pane in PowerPoint.
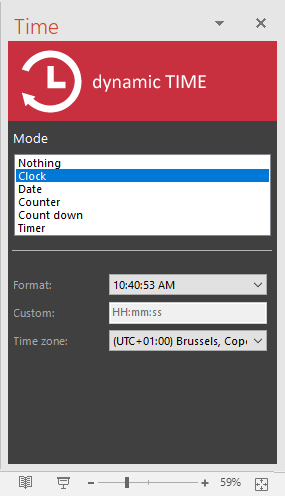
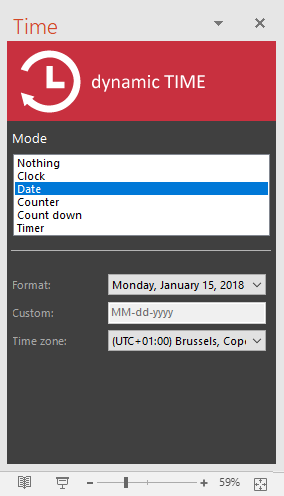
4.Different modes
Use Dynamic Time to display a real-time clock, date, counter, countdown or timer on your slides. Just select an existing textbox or add a new textbox to your slide. While this shape is selected, you can choose a Dynamic Time mode from the Dynamic Time pane.
We will explore each mode in more detail.
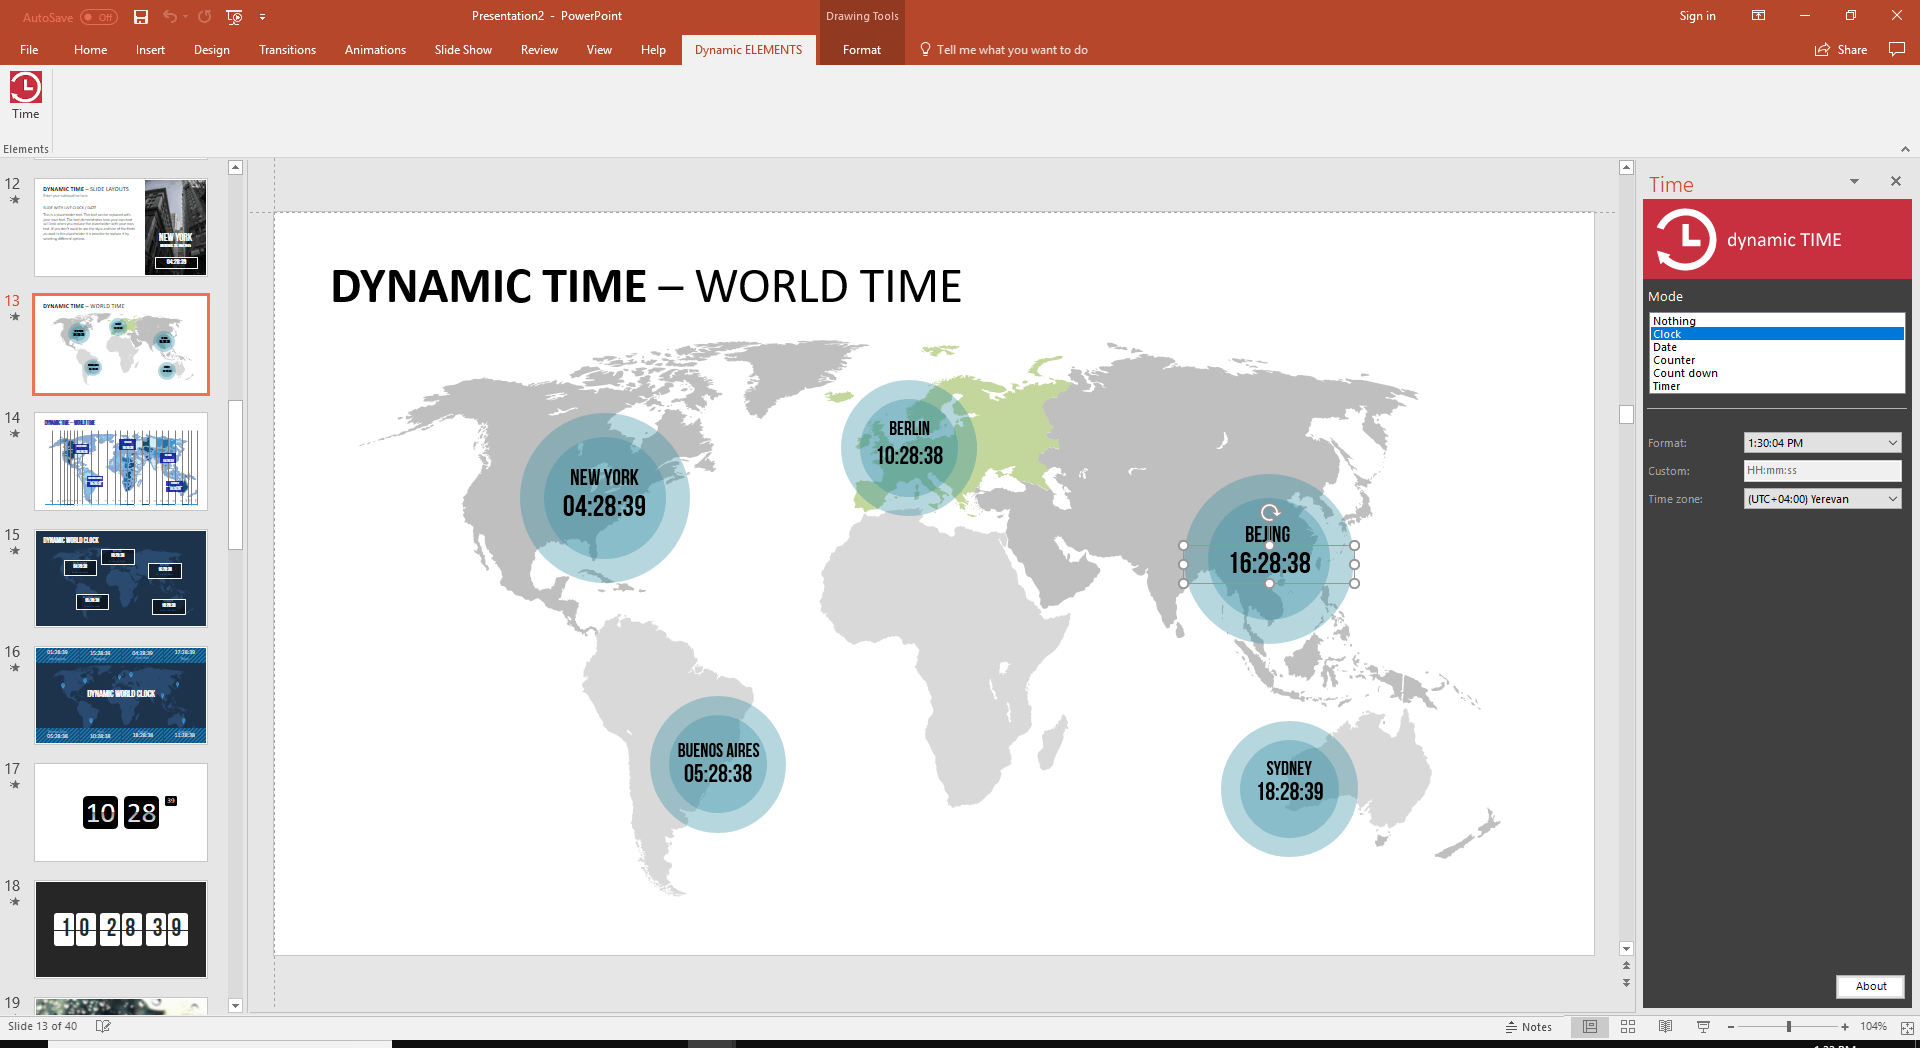
5.Real-time clock
Select a text box and the Mode option of your Time pane becomes active.

Set the Mode to Clock and more clock related options become available.
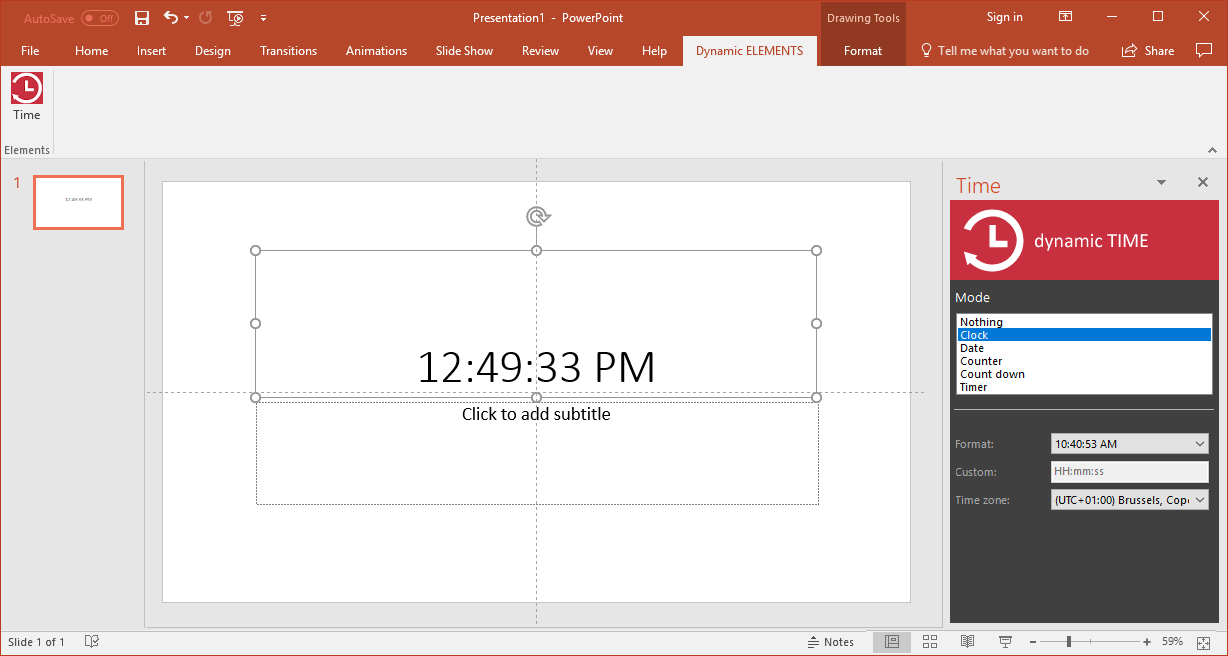
First of all, you can select the format of the clock. Open it and choose to display the current time as hours and minutes only, or maybe with hours, minutes and seconds. Or optionally, you can choose to use a custom format that you can set.
When the last option is chosen, then you can set a custom format. A full list of possible values for your custom time format can be found here: https://docs.microsoft.com/en-us/dotnet/standard/base-types/custom-date-and-time-format-strings.
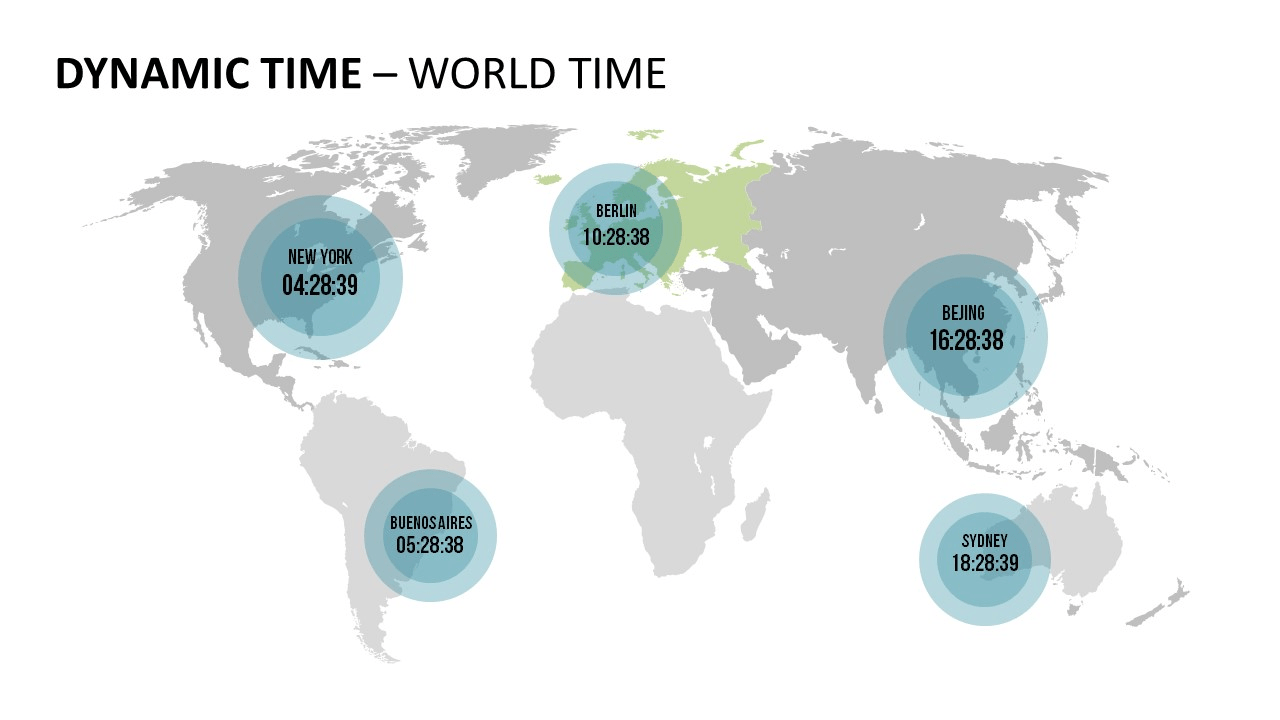
Finally, you can choose a time zone from the list. Maybe you want to show the current time of different cities or offices located in different time zones.
Note that during the design of the presentation the clock is not updated. Start the slide show and the clock will start advancing.
6.Real-time date
Select a text box and the Mode option of your Time pane becomes active.

Set the Mode to Date and more date related options become available.
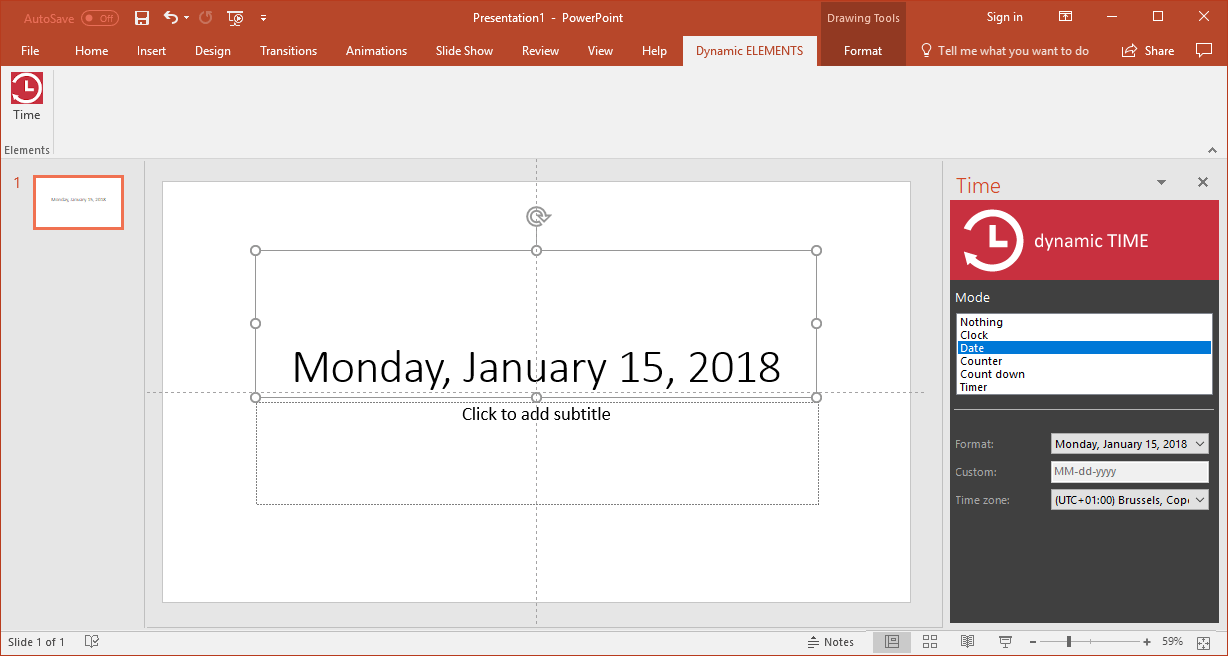
First of all, you can select the format of the date. Open it and choose to display the current date as full text, or maybe just with numbers. And optionally, you can choose to use a custom format that you can set.
When that last option is chosen, then you can set a custom format. A full list of possible values for your custom date format can be found here: https://docs.microsoft.com/en-us/dotnet/standard/base-types/custom-date-and-time-format-strings.
Finally for dates as well, you can choose a time zone from the list. Maybe you want to show the current date of different cities or offices located in different time zones.
7.Real-time counter
Select a text box and the Mode option of your Time pane becomes active.

Set the Mode to Counter and more counter related options become available.
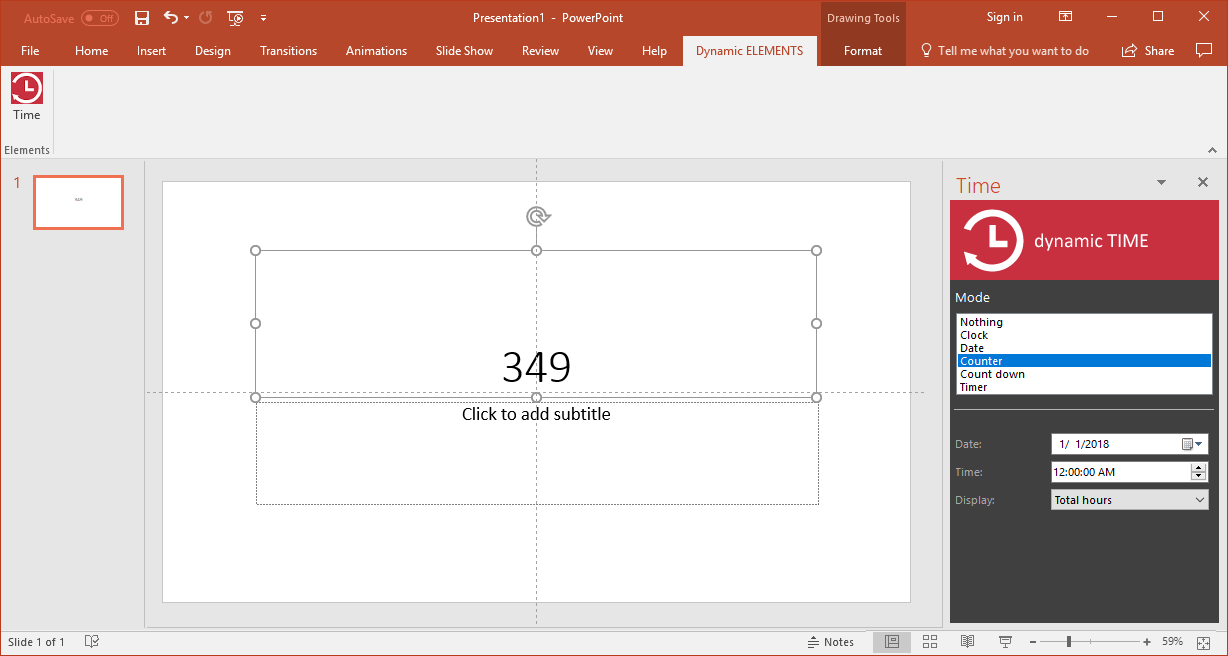
A counter is chosen when you want to count the number of days, hours, etc. from a given start date. For example 23 days without smoking, or 68 days since the last accident.
So in the Date field, set your starting day. Next, set a time value. By default, this is midnight.

Go to Display option, select what to display. You can display the total number of hours or seconds. If you want to spread out this information over multiple text boxes, then use the days, hours, minutes and seconds options. With multiple text boxes, you have more control over the design of the text boxes individually.
And finally, you can choose to display this information as datetime or time directly.

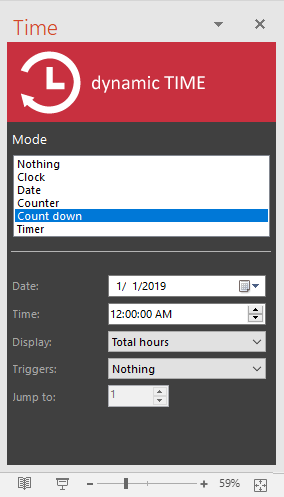
8.Real-time countdown
Select a text box and the Mode option of your Time pane becomes active.
Set the Mode to Count down and more countdown related options become available.
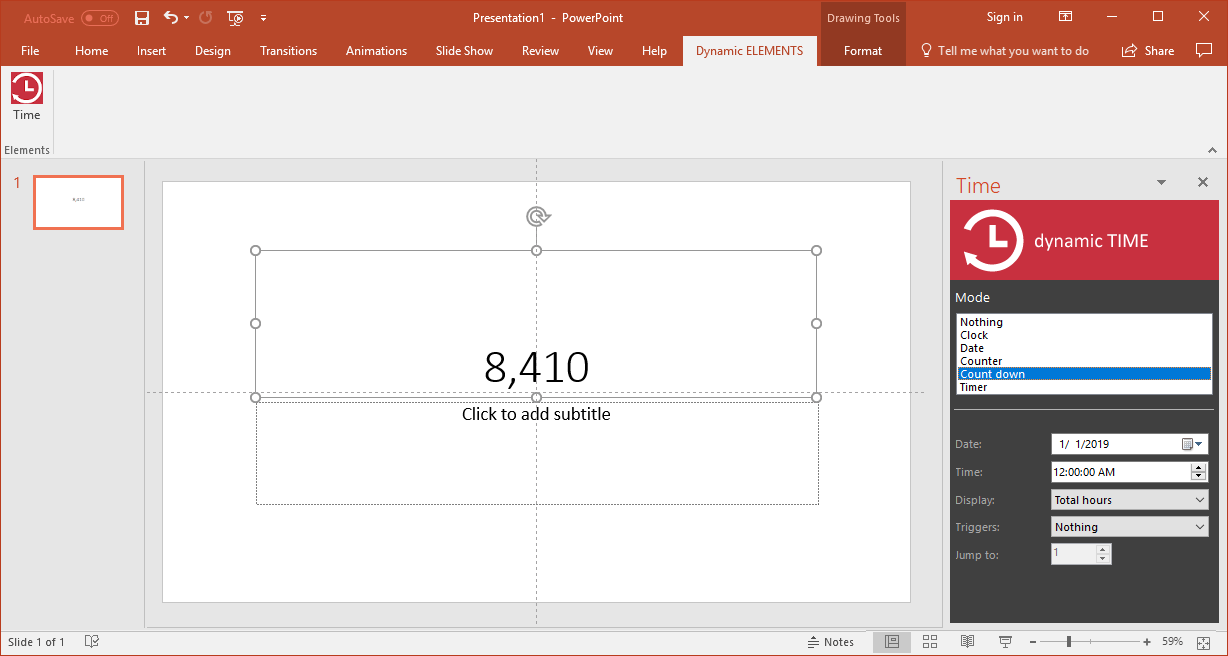
A countdown is typically chosen when you want to project a date or time in the future and make people aware of the given target date. Think about counting down to the opening of a new shop, or counting down to New Year.
So, in the Date field, set your target day. Optionally, you can set a time value too. By default, this is midnight.
In the Display option, select what to display. You can display the total number of hours or seconds. If you want to spread out this information over the multiple text boxes, then use the days, hours, minutes and seconds options. With multiple text boxes, you have more control over the design of the text boxes individually.
And finally, you can choose to display this information as datetime or time directly.

Furthermore, you can jump to another slide when you arrive at your target date set. For example a slide that says ‘Happy New Year’. Set the triggers options to Jump to slide and set the design slide number at the Jump to field.

9.Real-time timer
Select a text box and the Mode option of your Time pane becomes active.

Set the Mode to Timer and more timer related options become available.
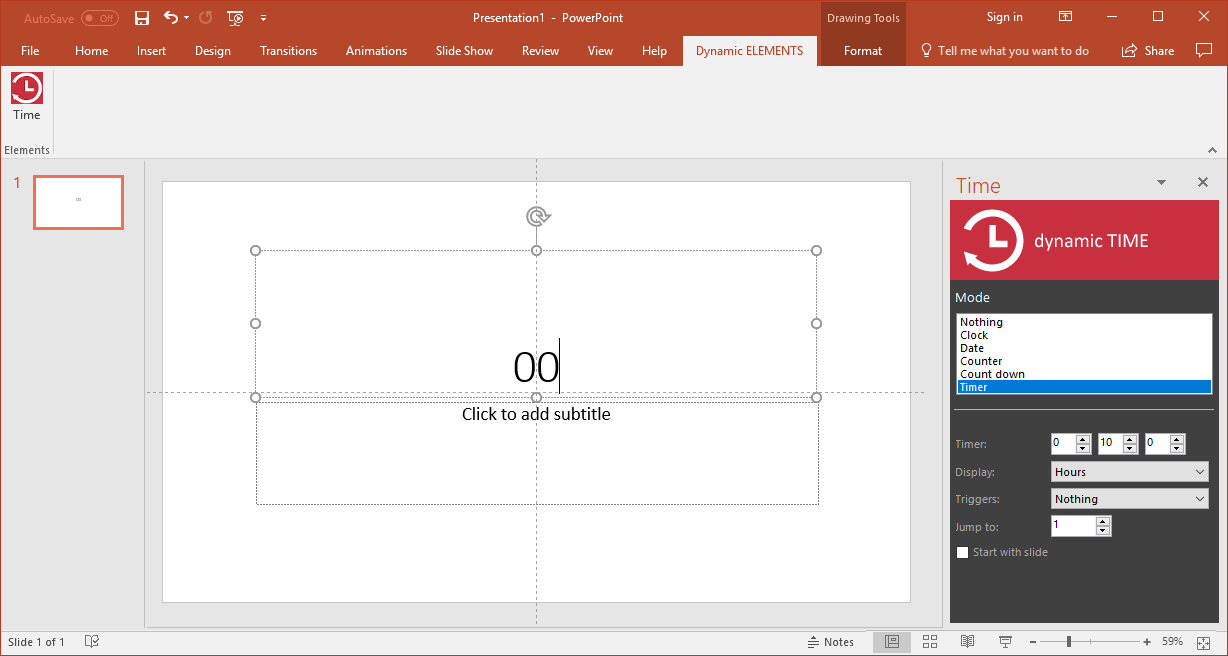
Most obvious example of a timer is cooking an egg. Set the timer to 10 minutes and you will have a hardboiled egg. Or maybe a 15 minutes break timer for your presentation.
At the timer, set the corresponding hours, minutes and seconds for your timer.
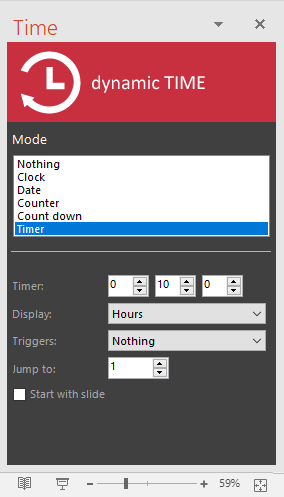
Go to the Display option, choose to display the hours, minutes or seconds separately. Ideal when using multiple textboxes to show your information. Otherwise, set the display option to As time.
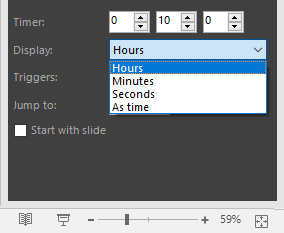
When your time reaches 0, then you can jump to the next slide. Set this option at Triggers to Jump to slide and set the according slide number at the Jump to field.
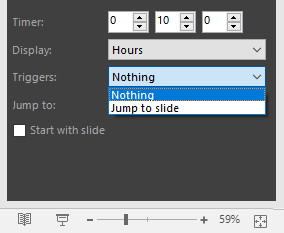
You can continue to run your slide show and leave your timer running. By default, a timer starts at the start of the slideshow. In case that you want to start the timer at the timer when you arrive at this slide, then check the Start with slide option here.
10.Using the template
Open the accompanying template and start showing off immediately.
You can start using a slide that you like and change it accordingly to your needs.
And this slide in the slideshow looks like this.