
Digital Signage with Video Playlists
The previous digital signage related article was about digital signage images playlists. Now, I want to go one step further with the video playlists. A video file can be compared to full motion television with great animations and effects. A PowerPoint presentation is typically less graphical than a video. It shows a nice looking chart or table with some numerical information. In PowerPoint you can add nice animations etc but all of this cannot be compared to video. With a camera you can go on to the street and record what you are seeing; buildings, cars, people, sounds and movements. All of this together is recorded on your video and can absolutely not be compared to animations in your PowerPoint presentations. We have another great article where we compare presentations with videos. Using videos for your digital signage is strong and powerful. When using video files in your shop to promote your products, it looks almost if you are running your own branded television channel. Creating video files requires much more work, but delivers a maximum of output.
Set up a Playlist with Videos
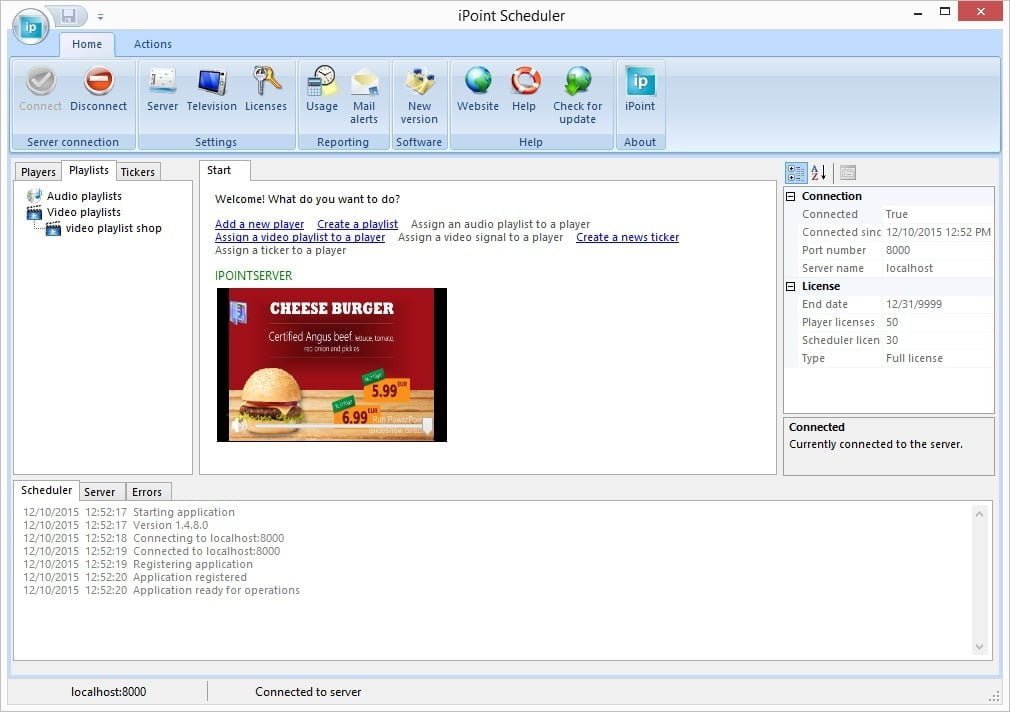
Just like a television channel, you will also have to set up your own brand channel with your videos. You are in control to schedule a given video at a certain time. To promote your winter collection in your fashion shop, you can create videos about cloths of your winter collection. Then you can schedule video playback starting late September. The video playlist that you will create, contains the winter collections next to some other general videos like company introduction, shop location, opening hours and so on. To create a video playlist in our digital signage iPoint product, you can use the scheduler application. Start the application and log on to the server. Then click the Playlists tab.
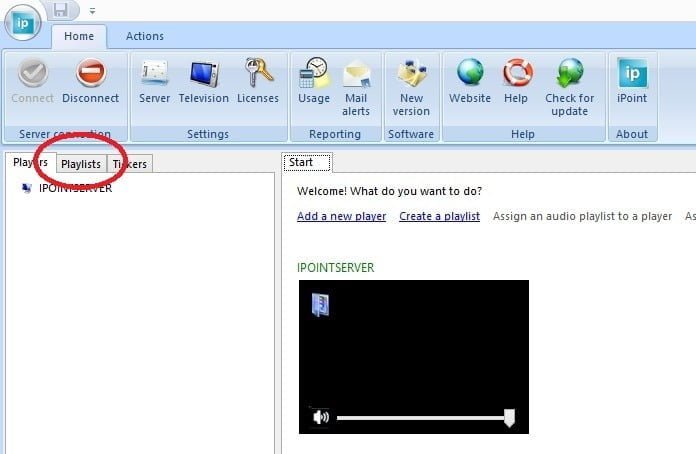
When you go to Playlists tab, you will see 2 options; audio playlists and video playlists. Select the Video Playlists node and right click on it. Choose New playlist from the popup menu.

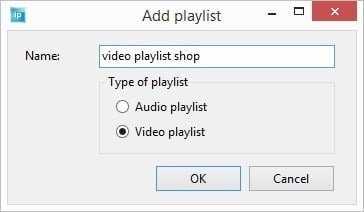
Name this playlist. Make sure that the option is set to Video playlist and hit OK.
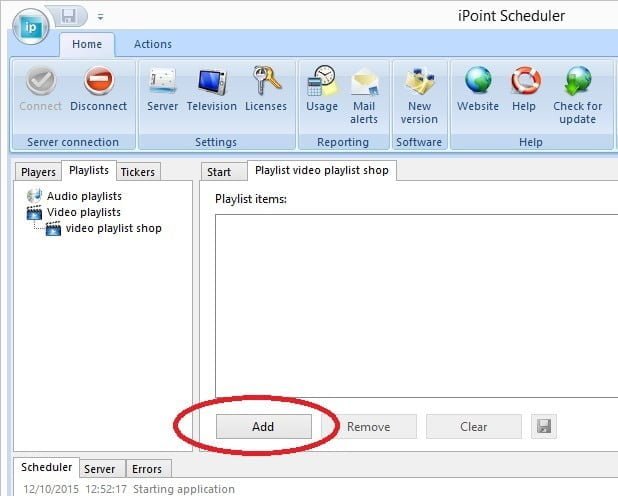
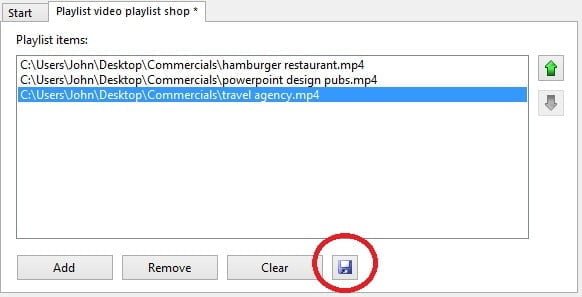
This opens a new playlist. Click the Add button to add some files to the playlist.
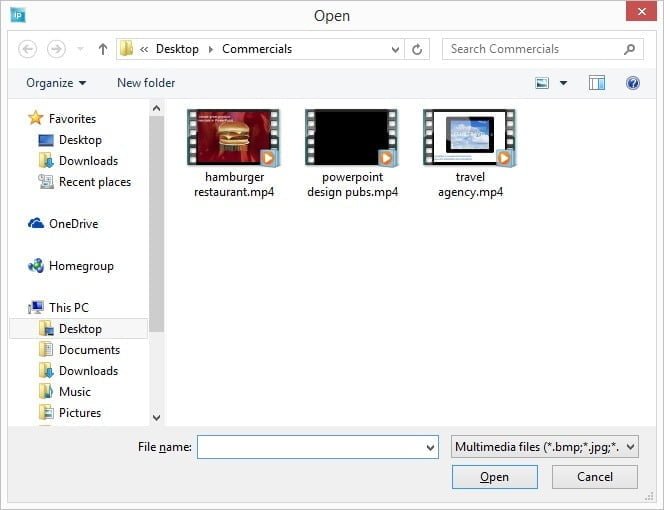
Browse your computer or network and select one or more video files. You can create a playlist with one file or use multiple files. Finally you hit the Open button to add the selected files to your playlist.
The selected files are now added to the playlist. Hit the Save icon to commit the changes.
Assign Video Playlist to Player
Now that we have set up a playlist with videos, we can move on and start using it. In the middle pane of the scheduler application, you will see a list of your players connected to the iPoint server. Select one player or computer and hit that blue icon there. This will open the player’s playlist assignments.

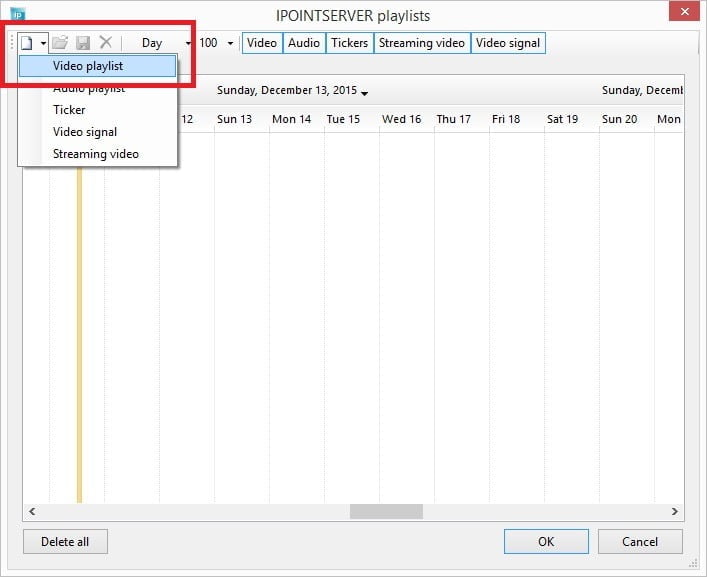
This opens a calendar view. Click the New Document icon at the top left corner and choose the Video playlist option from the list.
All properties of a playlist assignment can be set here.
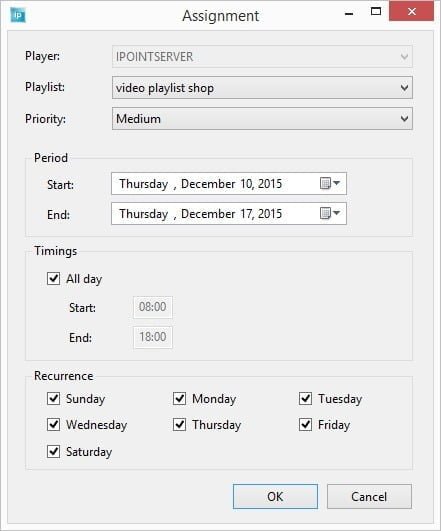
You can verify the player that you are assigning to.
Pick one playlist from the list.
Change the importance of the playlist assignment by selecting another priority.
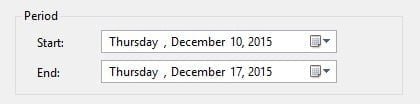
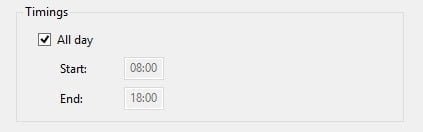
Set the allocation period of the playlist.
All day long or set a start and end time.
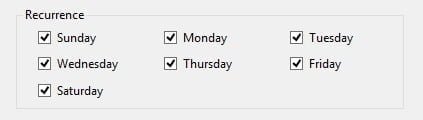
Select or deselect some days of the week.
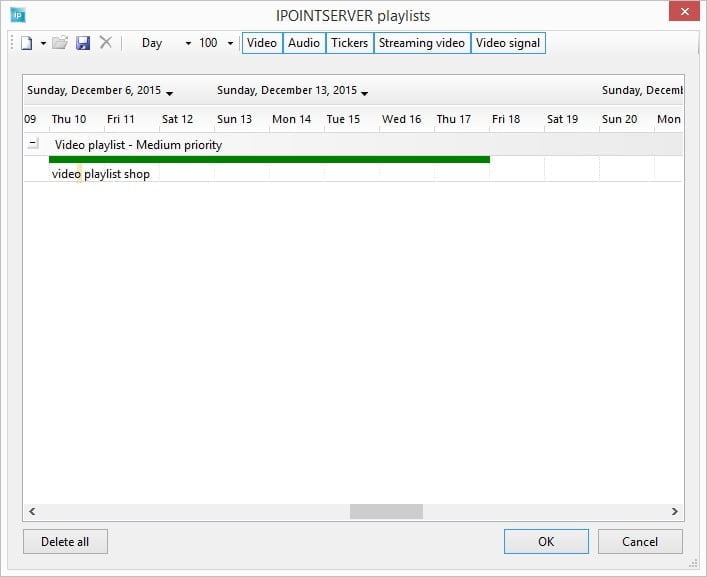
When all the changes are done, hit OK button to save the changes. A green bar is added to the calendar for the period specified in the assignment. The bar is in green because of the medium priority we have chosen. A higher priority would result in a red bar or assignment. The playlist assignment with the highest priority will be played back on the player.
Overview and playback
The player will be notified that a playlist was added. The player app will analyze the playlist and will start downloading the video files. Whenever the first video is copied and ready for playback, then the player will start showing that video on your television or computer screen. In the scheduler application, you can see that the name of the player is colored green. This means that the player is correctly connected to the server and is alive. It will also display what is shown on the remote player here as a thumbnail with regular refreshes. You can spot almost immediately when something is going wrong.
Advantages of using video files in your playlist
When you have the bandwidth on your network to work with video files, then do not hesitate to use video files. The advantages of using video files are:
- Maximum of motion: nothing cannot be captured in a video.
- You can easily add texts, animations and special effects to it.
- Looks like real television.
- Professional broadcasting.
Supported video file extensions
In short, we use the same specifications as Microsoft Windows Media Player is using. iPoint has direct support for the following file extensions or video formats:
- Windows Media formats File name extensions: .asf, .asx, .avi, .wav, .wax, .wm
- Audio Visual Interleave File name extension: .avi
- Moving Pictures Experts Group (MPEG) File name extensions: m3u, mp2v, .mpg, .mpeg, .m1v, .m3u, .mpa, .mpe, mpv2
Next to videos, iPoint also supports images and Microsoft PowerPoint slide shows. And of course you can mix all types in a playlist.
More Information
Read some more interesting articles from our blog:

