 Introduction
You can perfectly use Microsoft PowerPoint to create high quality digital signage presentations for your information displays. PowerPoint is great for displaying a clock, RSS news, weather forecasts, messages, announcements, advertising and many more on your information screens.
Why PowerPoint? Because, it is created to display various information, slide after slide, and with some nice transitions and animations on the slides. Very easy to use and, best of all, no expert software is needed to create it. Editing is also very nice as you just open a presentation, change your information and save it quickly. No need to export information to other file formats like images and movies. Just plain PowerPoint format, which became a real standard. And next to that, the result is a small file.
You can use DataPoint technology to update the slide content automatically without exiting your slideshow.
There are a few things that you have to take into account when you use PowerPoint for your digital signage, or information screens.
1. Screen Orientation
It might sound ridiculous, but you have to think about the orientation of your digital signage screens. Typically, a digital signage information screens has a landscape orientation. Most likely this is because we are used to see televisions in landscape orientation.
But think about it. There are situations in where you want to use a portrait oriented information screen. For example, in the airport, you often see portrait orientation for the flight information. Why? Because, they can fit more information on a portrait screen. For flight information, you only need departure time, flight number, destination and gate number. Not that many information at all. When you put those 4 columns on a portrait information, then you can display much more flights on one screen. If you would use a landscape oriented screen, then you probably end up with a bigger font with lesser flight info, or use a split screen of 2 columns. Flight information in one part, and the following flight information on the second part of the screen.
Or let’s take this example. At funerals you often see a television nowadays where they display a picture of the deceased. When you use an image of a person there, you use in 99% of the cases a portrait image, right? Then the undertaker displays that portrait image on a landscape oriented television. Many undertakers make that mistake. If you mostly display portraits, then change the orientation of your television to portrait. It seems that this turning of the television is not done. No, a television screen in landscape mode, displaying a portrait image where two thirds of the screen is black, seems to be much better.
So, first of all, before you start designing your presentation, take a decision on how you are going to hang your televisions. In case that you are using an existing infrastructure somewhere, ask about the orientation of the televisions. There are of course other possibilities like hanging your screen in a 45° angle for some special effects. But that is something different.
2. Screen Resolution
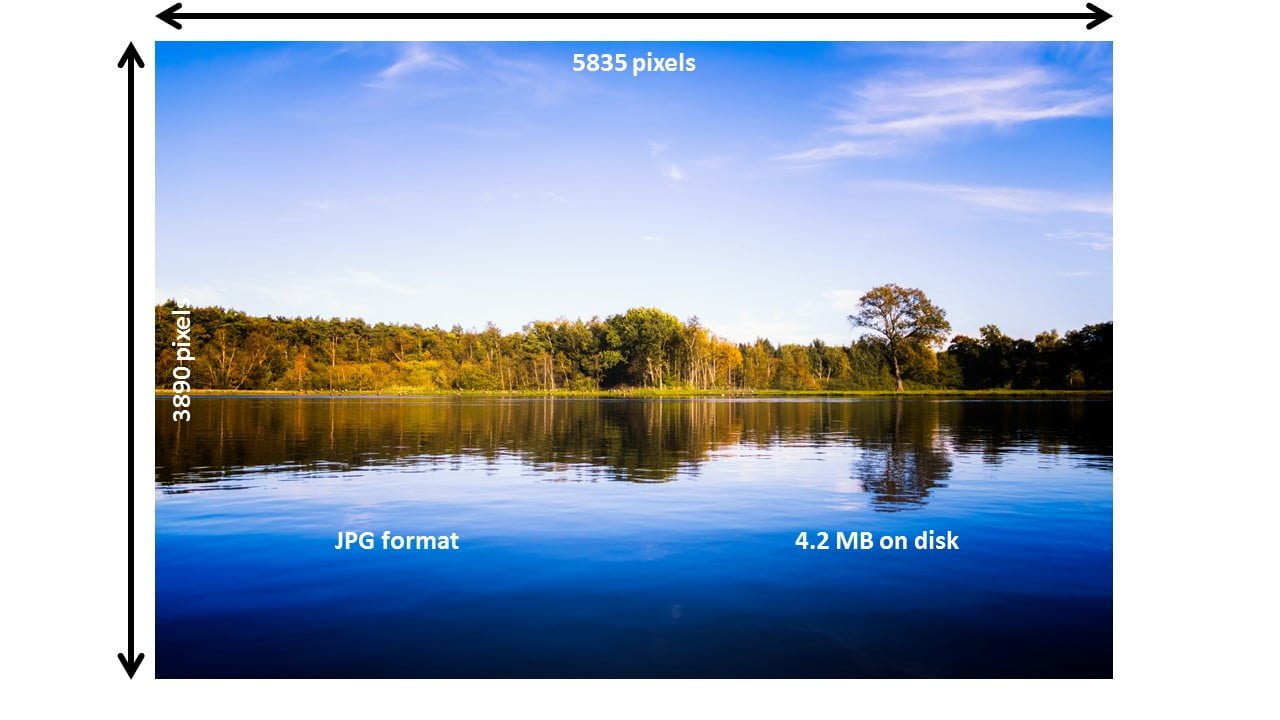
Secondly, check the specifications of the television and the computer that is connected to this screen. When this is not correctly set, then you get black areas on your screen, like on the image here. Mostly the screen dimensions or resolution, have a relation between the number of pixels in width and the number of pixels in height. The aspect ratio as people call that. A common aspect ratio is 16:9 like for example HD or 1920 by 1080 pixels. Older computer screens had an aspect ratio of 4:3. Think about 800 by 600 pixels. And there are more formats possible like 16:10 etc.
It is important to know how many pixels you will have on your presenting television screen, because that has an effect on your presentation design. Apply the same dimensions of your television on your slide design settings. More detailed information on this interesting topic can be found here. Did you know that you can enter the number of pixels at the PowerPoint slide design directly, there where you normally see inches or centimetres?

3. High Resolution Images
For high impact with your digital signage presentations, you will need great and clear professional images on your slides. But be careful: PowerPoint is compressing images by default. You special made high quality images, that you ordered at a professional photographer for this special occasion will be lost in quality.
Make sure that PowerPoint is leaving your high resolution images in high quality when the presentation is saved. Read all about this at this article.
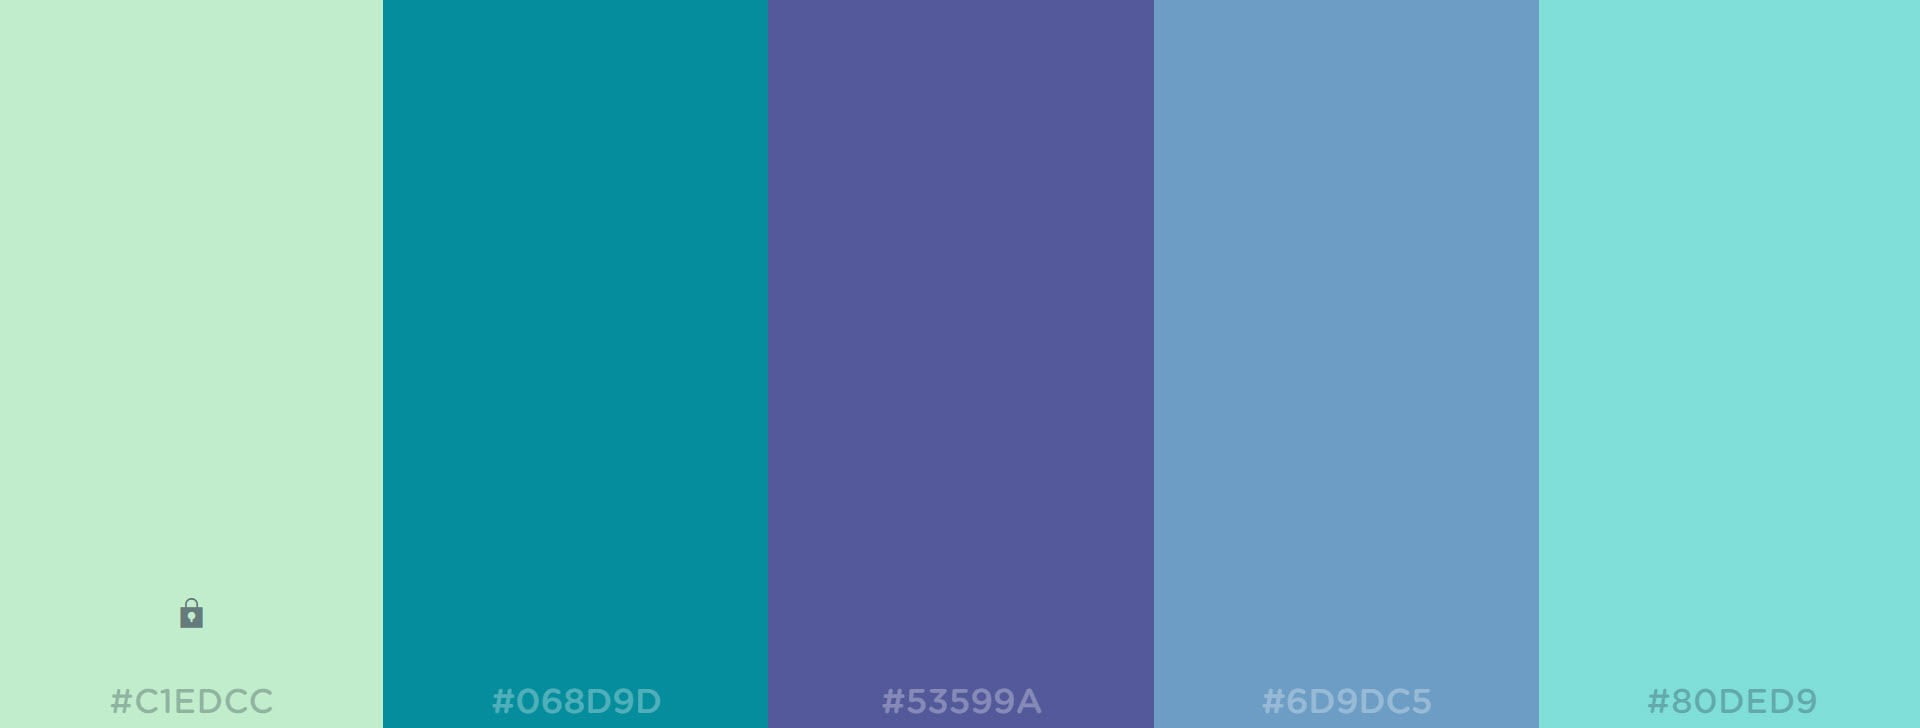
4. Use Color Palettes
For colors on your slide, you can try random colors. Or you can use the design rules, and use related colors from a given color scheme or palette.
There are many website out there, where you can choose from professional and correctly chosen color palettes: Adobe Color CC or Coolors to name a few. Typically on such website, you can select a predefined color palette or create and experiment with your own favorite colors.
5. Advance Slide Setting
Probably you are used to advance to the next slide with a mouse click in PowerPoint. This is normal for a typical presentation in a meeting, but this is not valid for a Digital Signage presentation. Such a type of presentation has to run by itself and without user interaction. You want to play slide after slide, to give as much information on a short term.
Open your presentation and click the Transitions tab. At the group Timing, uncheck the option On Mouse Click and check the After option. Set a reasonable time in seconds that allows a normal user to read all the info on the slide. You can set this timing on each slide individually or just click Apply To All here.

6. Slide Show Type
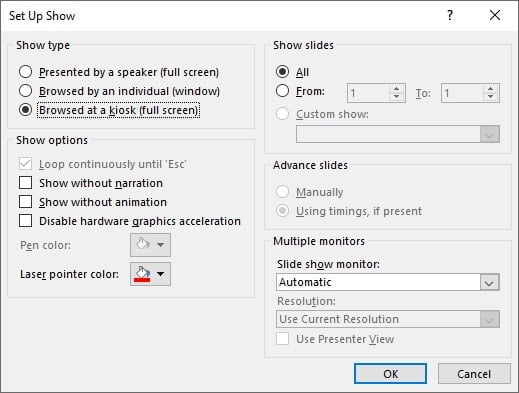
For Digital Signage presentations, you want to repeat the slide show over and over, all day long. Click the Slide Show tab at the ribbon and click the Set Up Slide Show button.
At the Show type, you have 2 possible ways:
- Select the option Browsed at a kiosk (full screen).
- Choose the option Presented by a speaker (full screen) and make sure that at the Show options, Loop continuously until ‘Esc’ is checked.
7. Use Software for Scheduling and Distribution
So far we discussed the options to design your digital signage presentations in PowerPoint. Now we can give some more information on how you get your presentations from your design computer to your information screens.
You can use our simple ShowPoint or our iPoint package with more features. ShowPoint is great to just auto-start a presentation when a computer is started. With iPoint you have much more control. It allows you to set up a playlist of multimedia files. Then you schedule playback of that playlist on a given remote information screen. iPoint will automatically distribute the playlist files to the remote locations and start the playback at the starting time. You, as the administrator, you can use the scheduler application and see in real-time what is displayed on the remote screens, via thumbnails of your iPoint players.
Use iPoint for your Digital Signage